User manual
3D4U-E
Field guide for capturing trench, drilling, joint pit and manhole surveys. Read section 01 before your first recording, then use Contents to jump to the task in front of you.
Section 01
Guidelines for accurate data capture
Follow these guidelines to produce a good 3D reconstruction.
The short version
- GPS indicator green or white before you start
- Nothing moving through the scene
- Phone in landscape, tilted down about 30 degrees
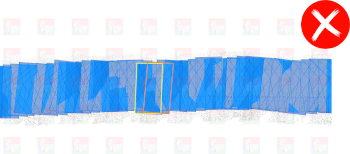
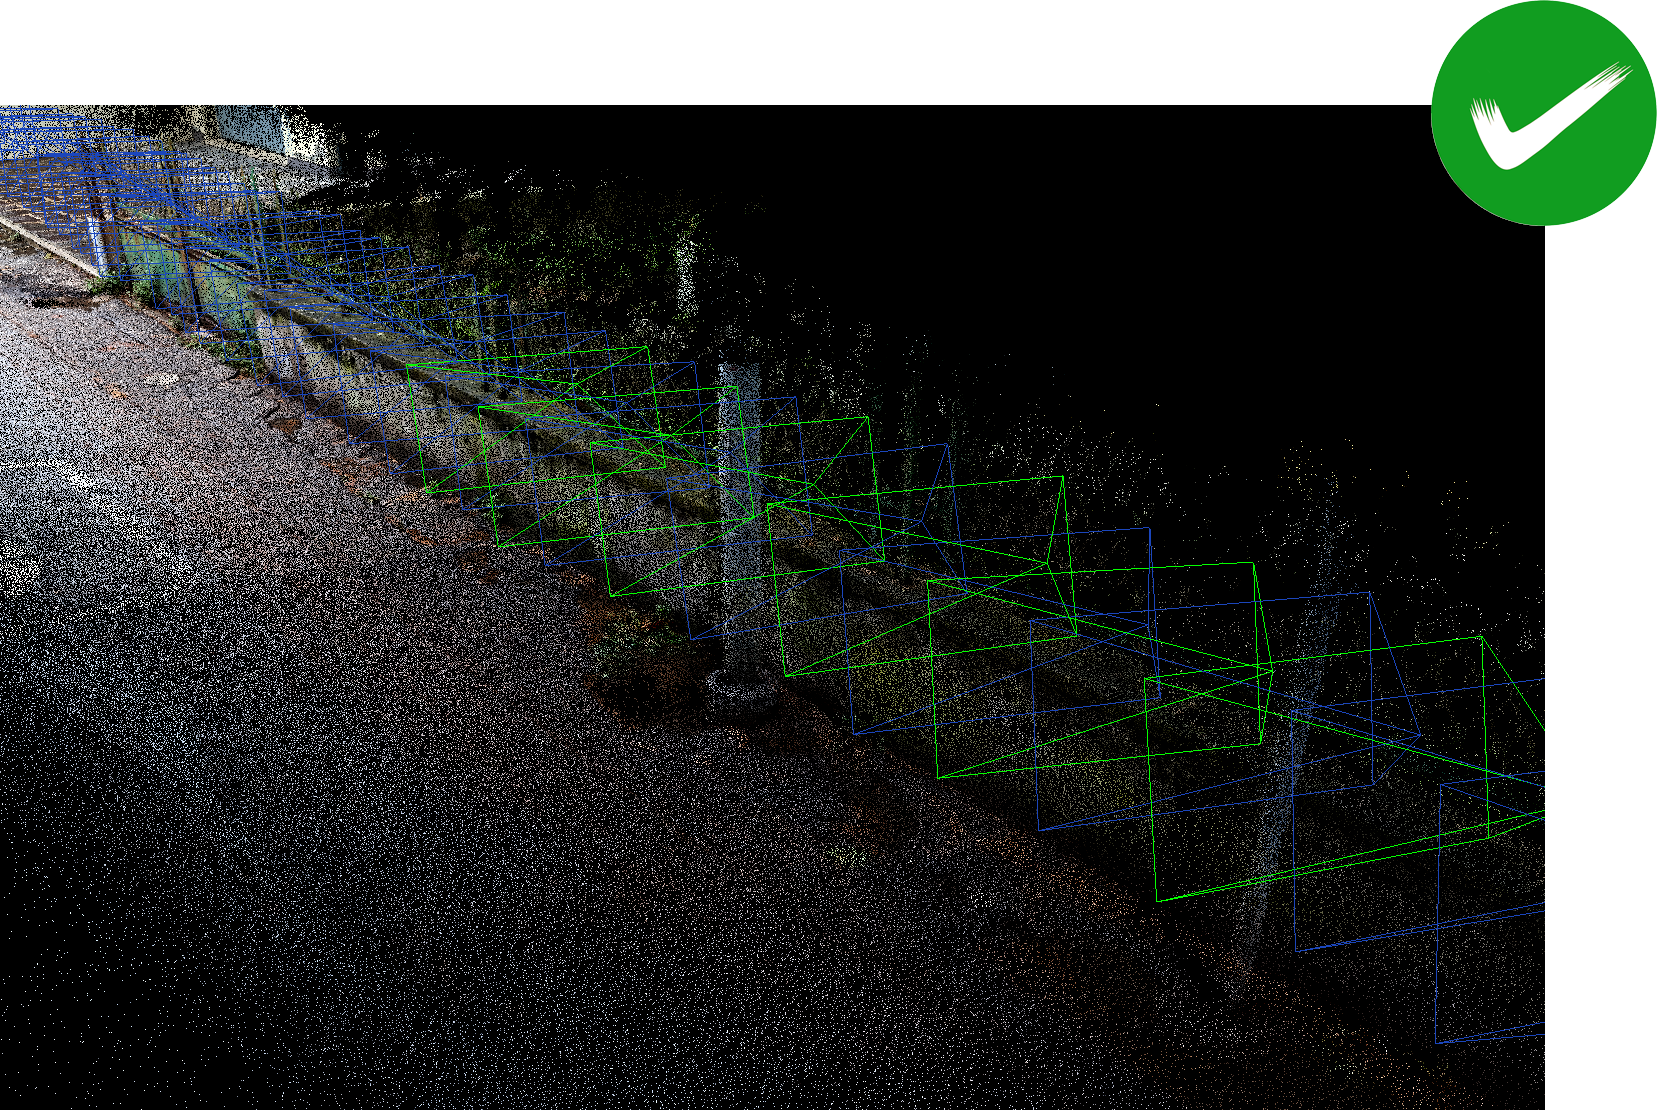
- Same angle, direction and height throughout
- Steady, moderate walking pace in a straight line
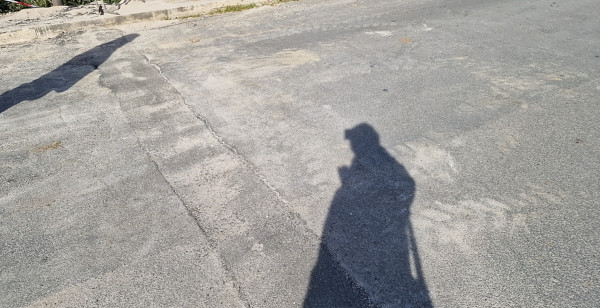
- Good, unchanging light, your own shadow out of frame
- Start 5 metres before the trench, stop 5 metres after it
Before you start
- Wait for a strong GPS signal before you begin. The GPS icon must be green or white. See section 05.
- To help the device fix its position, keep the camera active and point it at the roads and buildings around the survey area, then move the phone in a figure-of-eight pattern.
- Make sure the scene is static. Do not record people or objects that are moving.
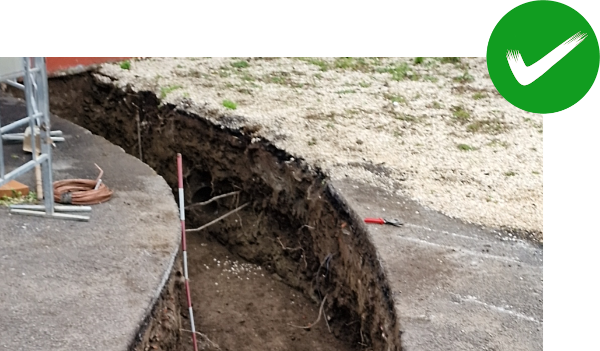
- Start recording at least 5 metres before the start of the trench or object being surveyed, and stop at least 5 metres past the end of it.
How to hold the phone
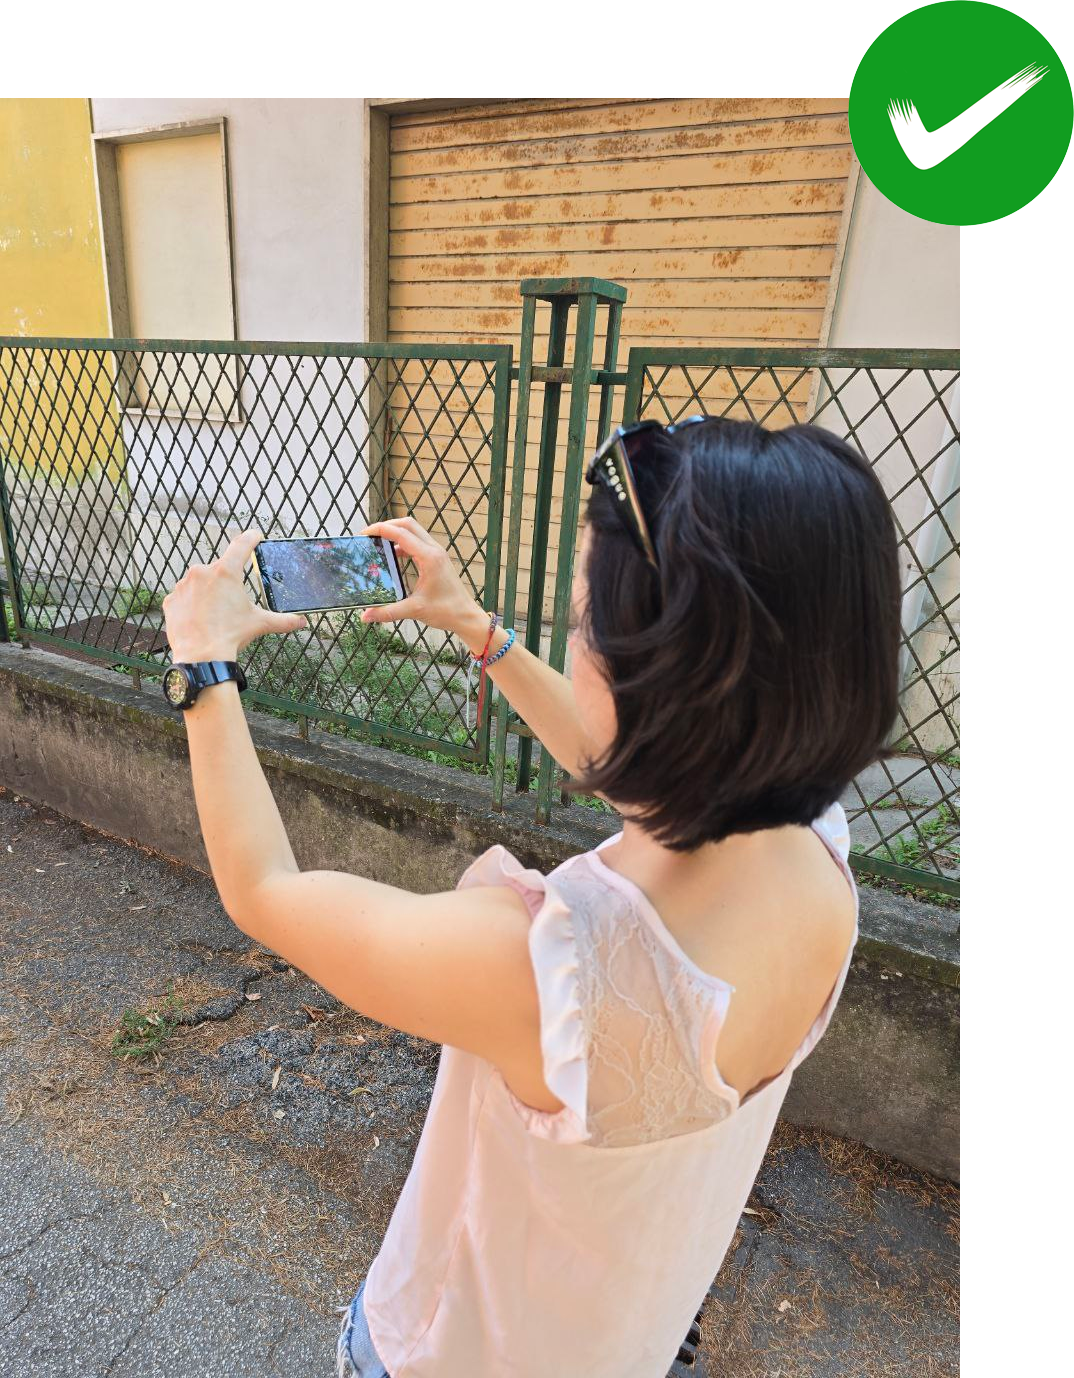
- Hold the phone in landscape orientation at all times. Never hold it flat, parallel to the ground.
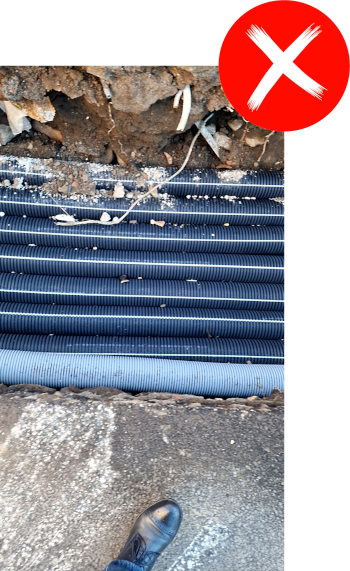
- Tilt the phone down by roughly 30 degrees so that the camera captures both the trench and the ground around it. Stay centred over the trench so that both side walls are fully visible.
- Keep the same angle, direction and height for the whole recording.
How to move
- Walk at a steady, moderate pace for the whole recording.
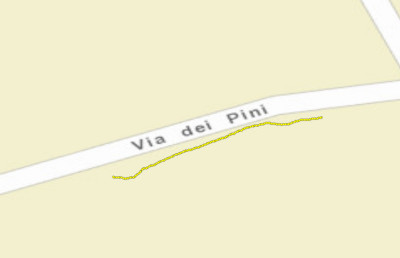
- Follow a straight, linear path. Do not turn back or retrace your steps.
- Avoid sudden movements. Use a gimbal where one is available, as it will steady the operator's movement.
- Always keep the phone pointed in the same direction.

Lighting
Do not record in poor light. This includes times of day when light levels are low, bad weather, and scenes where the light changes abruptly during a single recording.
Recommended paths
Section 02
Installation
Installing the app
Install 3D4U-E from the APK file supplied, or by the method your IT administrator specifies.
Permissions
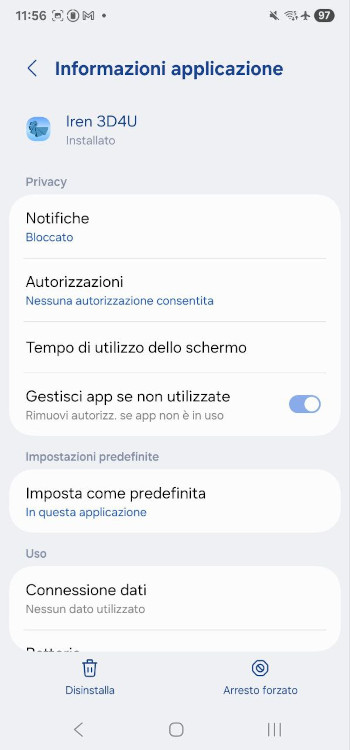
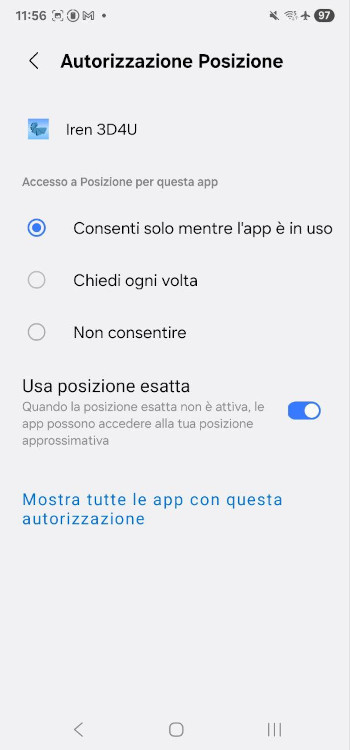
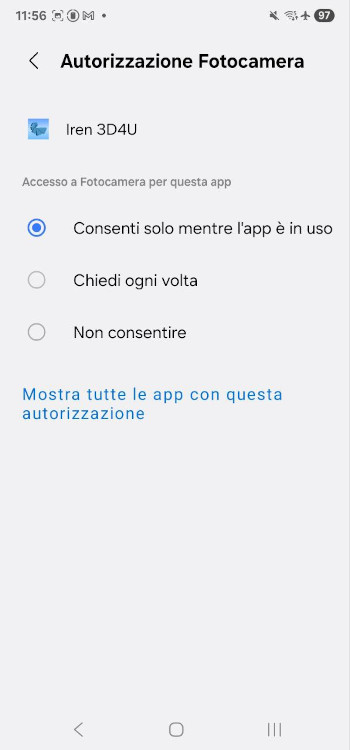
The first time you open the app, grant it Location and Camera permissions.
Google Play Services for AR
Only carry out this procedure if the app is not working correctly. Typical symptoms are a consistently poor GPS signal, repeated crashes, a frozen camera, or any other unexpected behaviour.
-
Remove the existing updates
If Google Play Services for AR is already installed on the device, uninstall its updates as shown in the video. They are reinstalled the next time you open 3D4U-E.
- Open Settings.
- Go to Apps.
- Search for Google Play Services for AR.
- Tap the three dots in the top right corner.
- Tap Uninstall updates.
Uninstalling the updates. -
Reinstall the update
The next time you open 3D4U-E, the app prompts you to update Google Play Services for AR. Accept the update.
Screen resolution
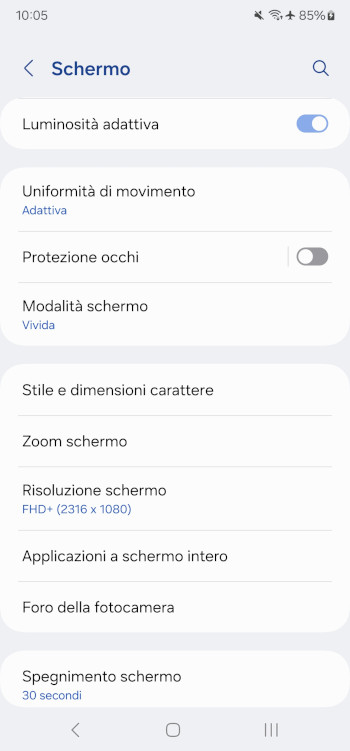
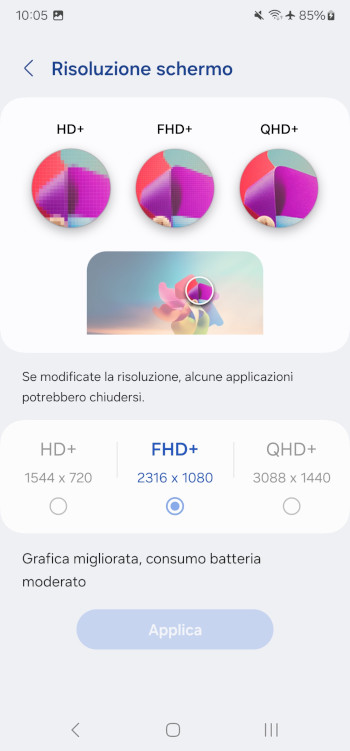
Set the screen resolution to FHD+ (2316 x 1080). This applies to the Samsung Galaxy S22 Ultra only.
Section 03
Logging in
Signing in
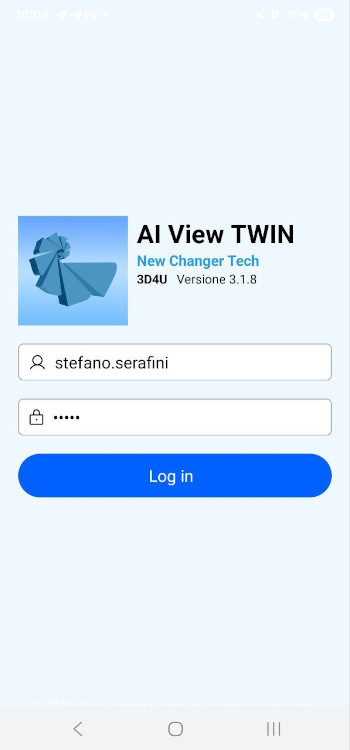
Log in from within the app using the credentials supplied to you. The first time you log in, you must set your own password.
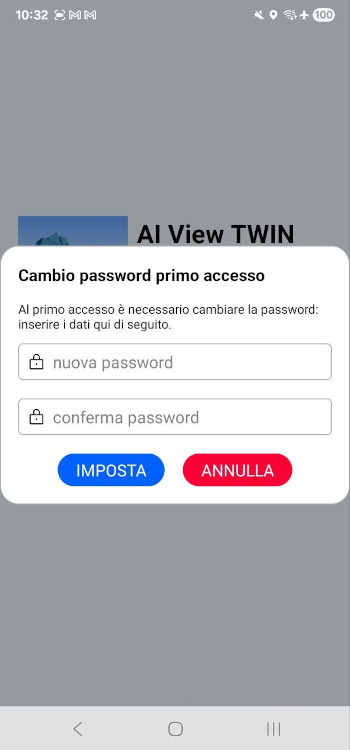
The password must
- Be at least 14 characters long
- Include at least three of the following: uppercase letters, lowercase letters, numbers, special characters
- Not repeat the same character more than twice in a row
- Not contain your first or last name
- Be different from your last three passwords
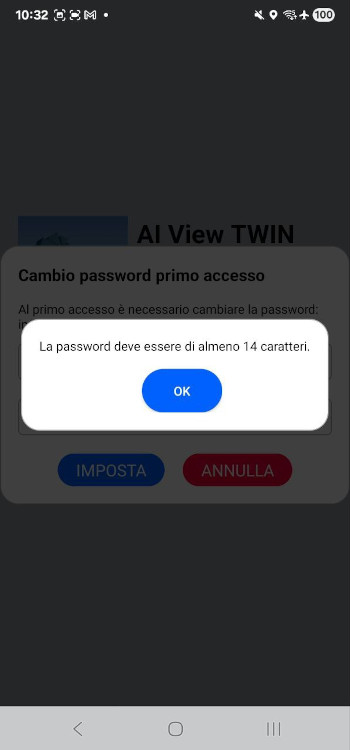
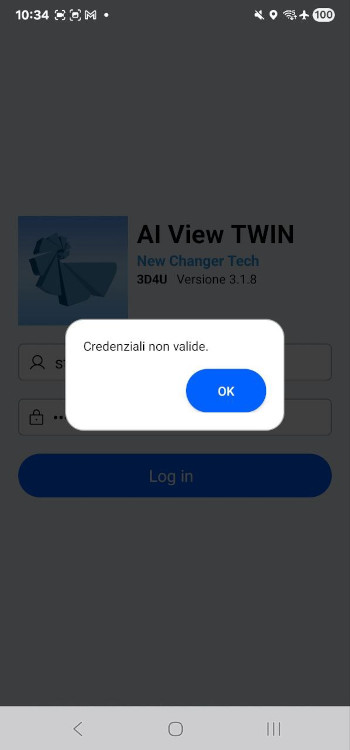
The password expires every 90 days, after which the app prompts you to set a new one.
After four incorrect password entries the account is locked. You cannot log in again until it has been unlocked.
Working without a data connection
Log in for the first time each working day while the device has mobile data or an internet connection. Once you have logged in, access remains valid until the end of the day, even in areas with weak coverage or no coverage at all.
Section 04
Using the app
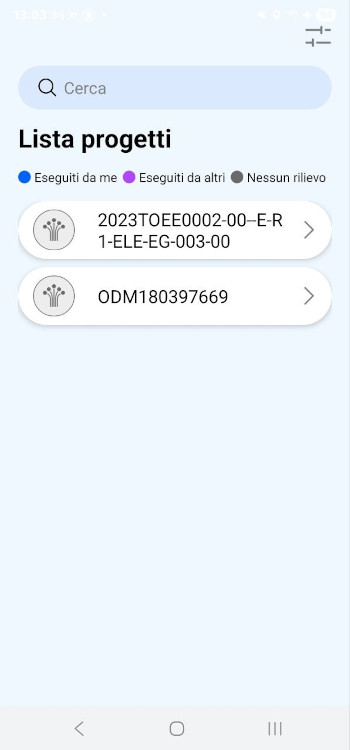
Once you have logged in, the app lists every project stored on the device. Projects are colour coded by survey status:
- Grey. No survey recorded.
- Purple. Surveys recorded by other users.
- Blue. Surveys recorded by you.
The colours refresh when you log in with a network connection, once the recordings have been uploaded and processed on the server.
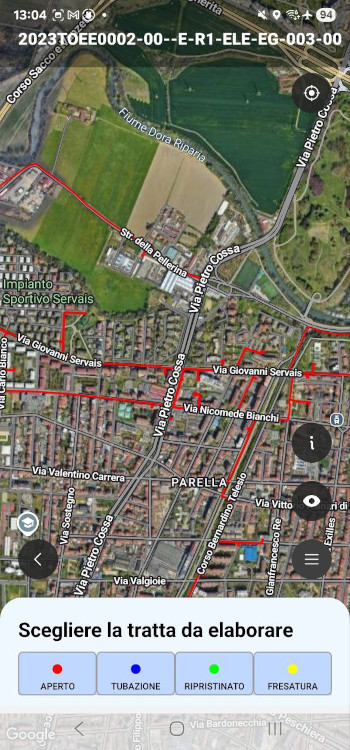
Trench segments are colour coded by status
- Open trench
- Piping laid
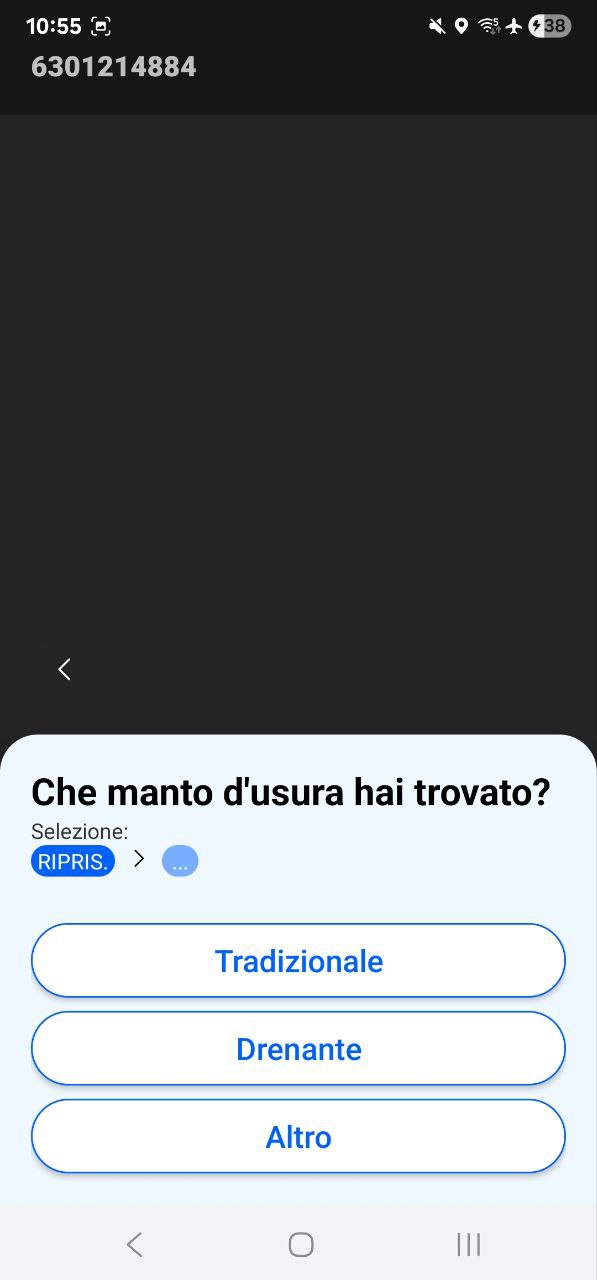
- Restored or backfilled
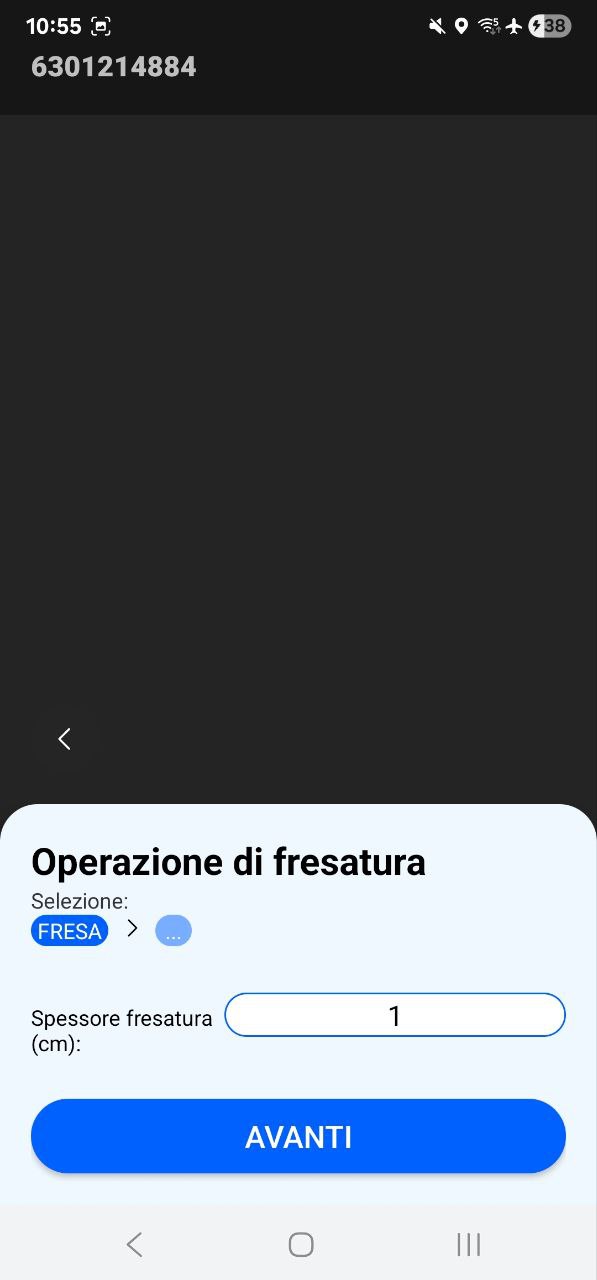
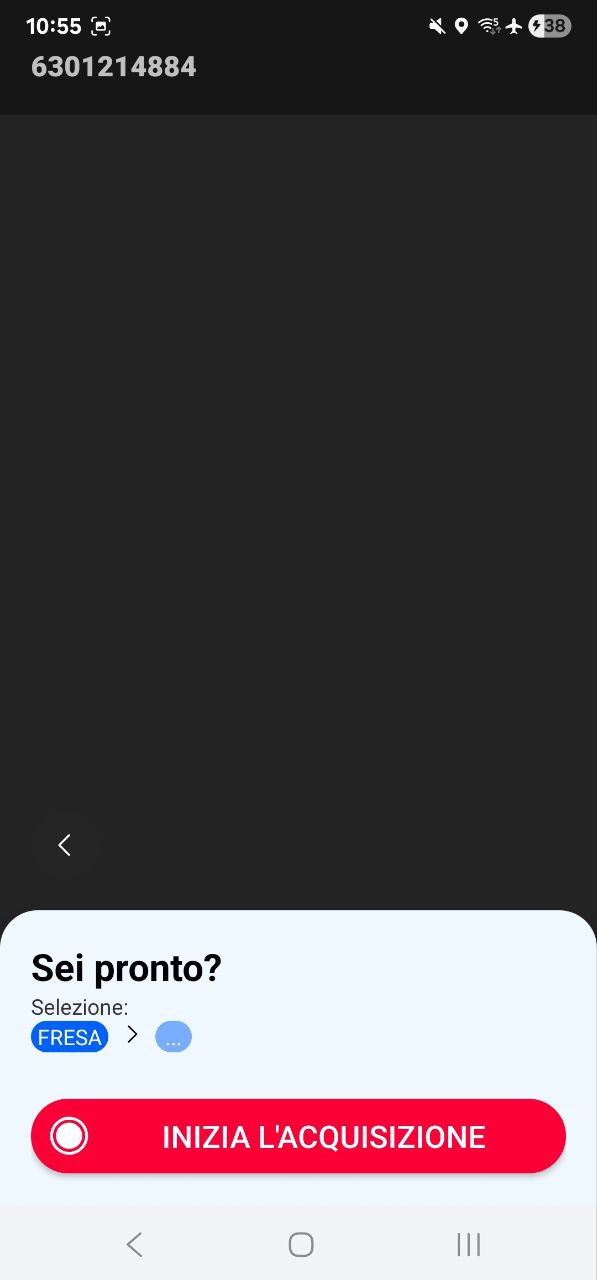
- Asphalt milling
Use the bar at the bottom of the screen to show or hide segments by status. Tap a segment directly on the map to select it, then choose the type of operation you want to record.
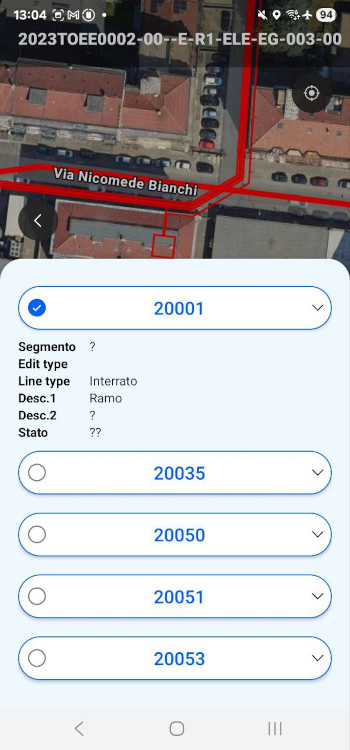
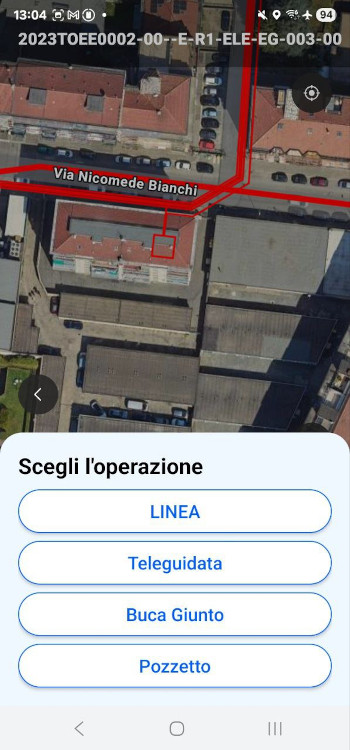
4.1 Line
Select Line, then select the trench status. Depending on the status you choose, the app asks for further details before recording starts. Open a row below to see the screens for that combination.
Open trench, asphalt or concrete 3D survey
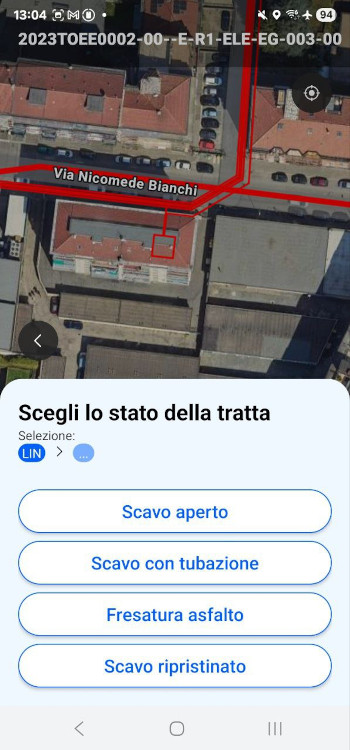
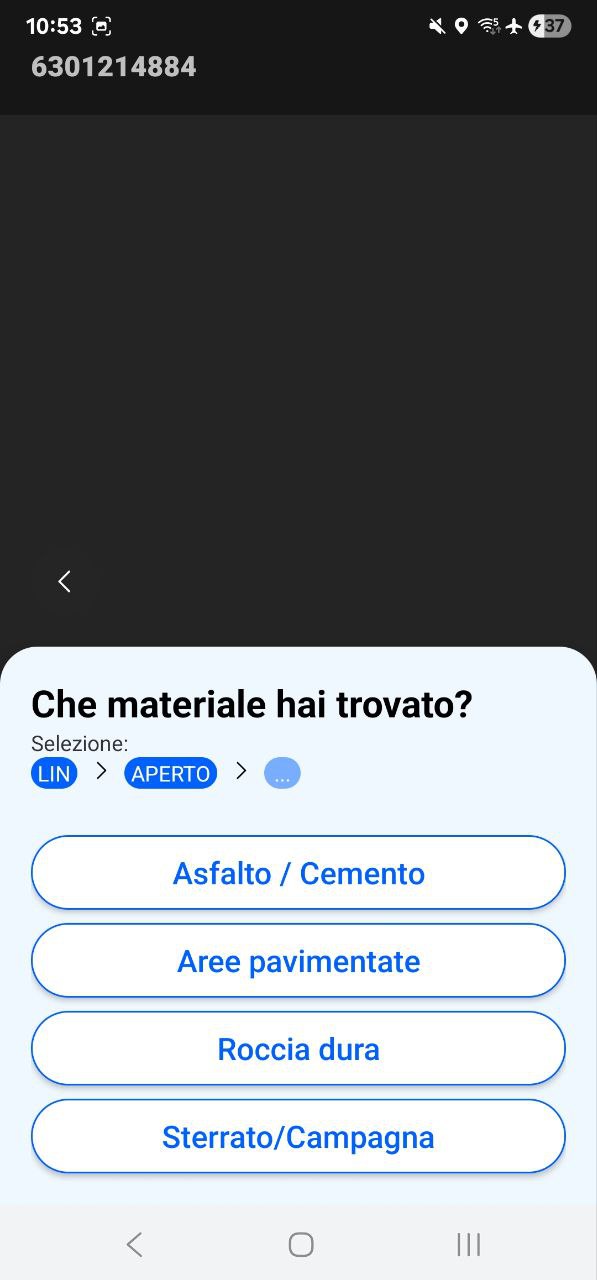
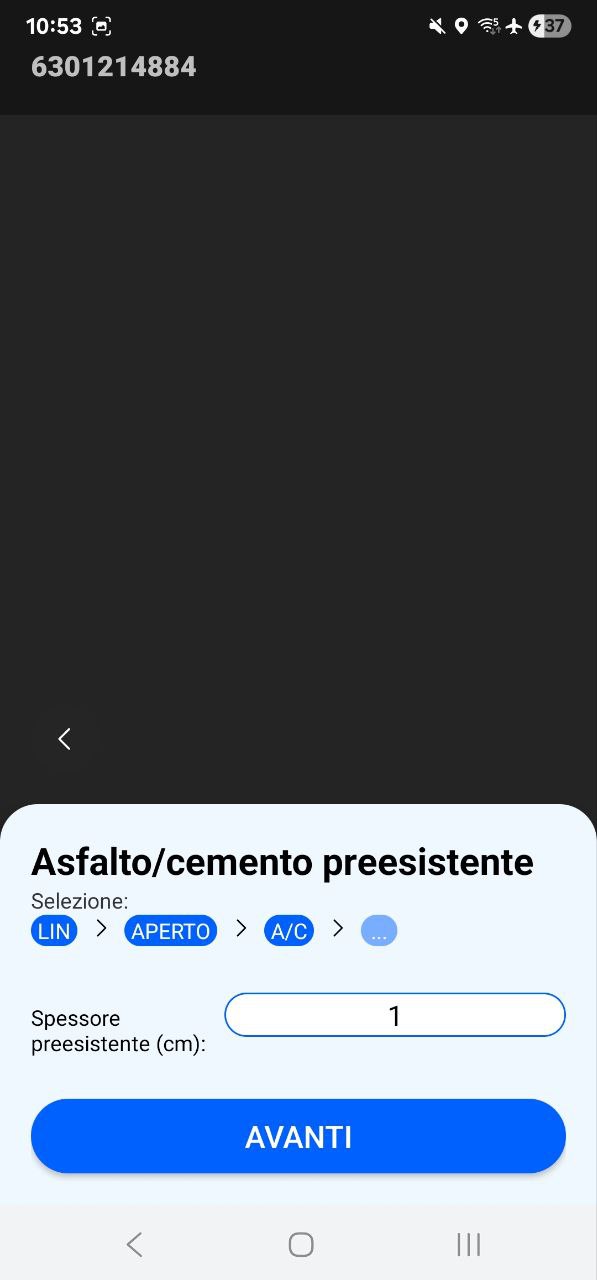
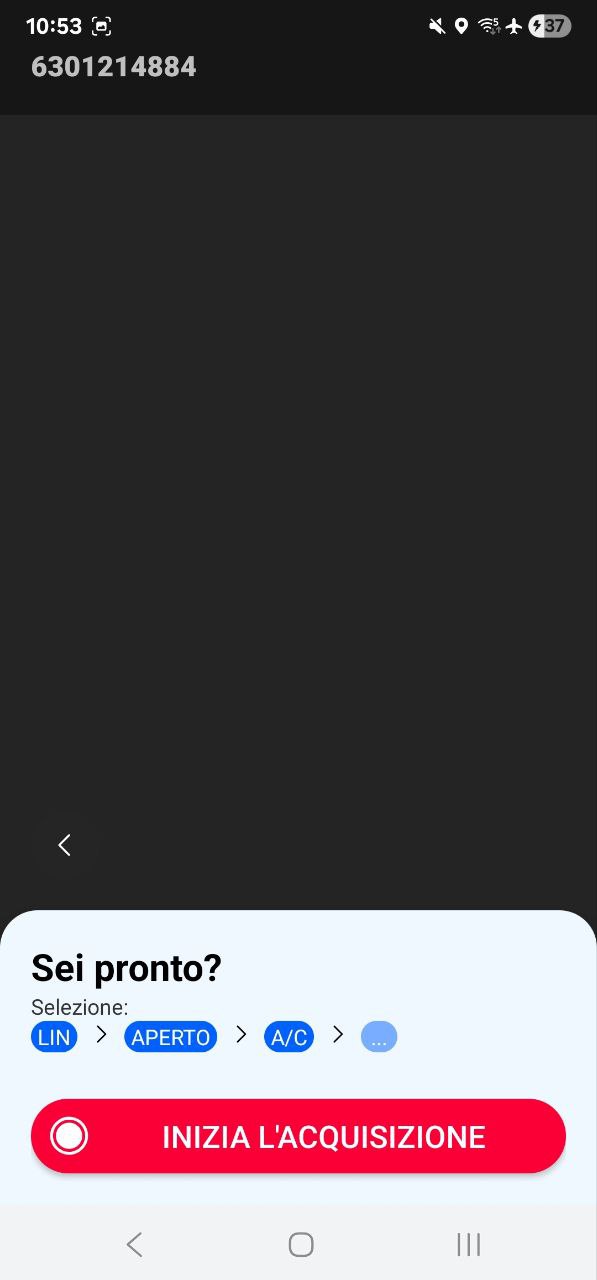
Open trench, paved areas 3D survey
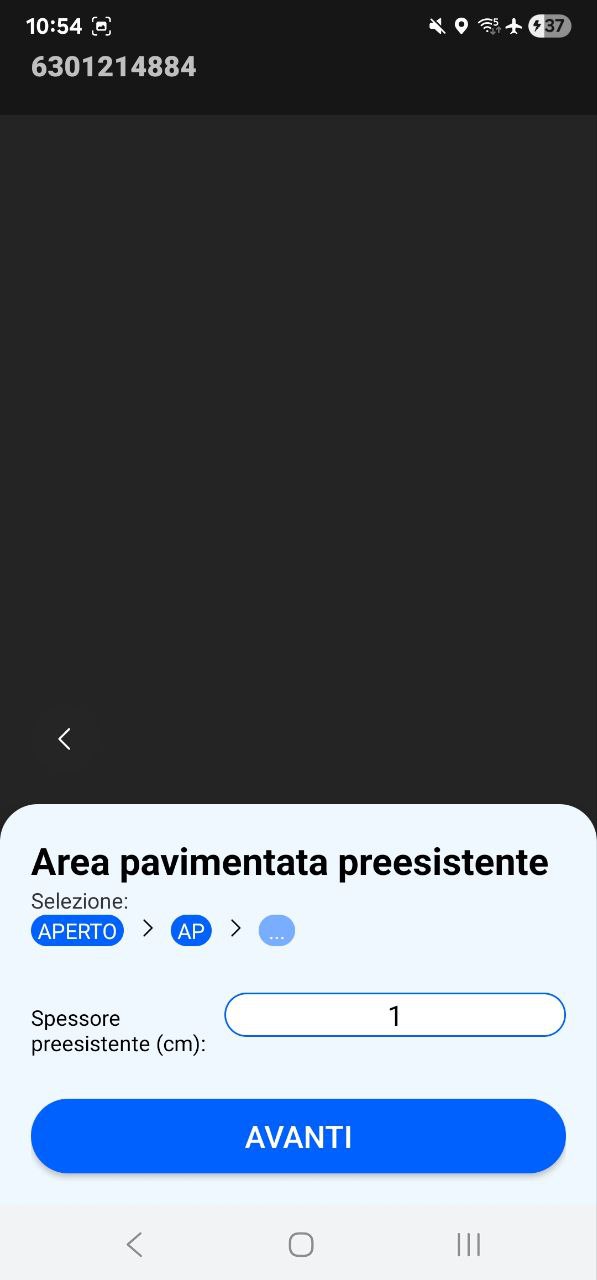
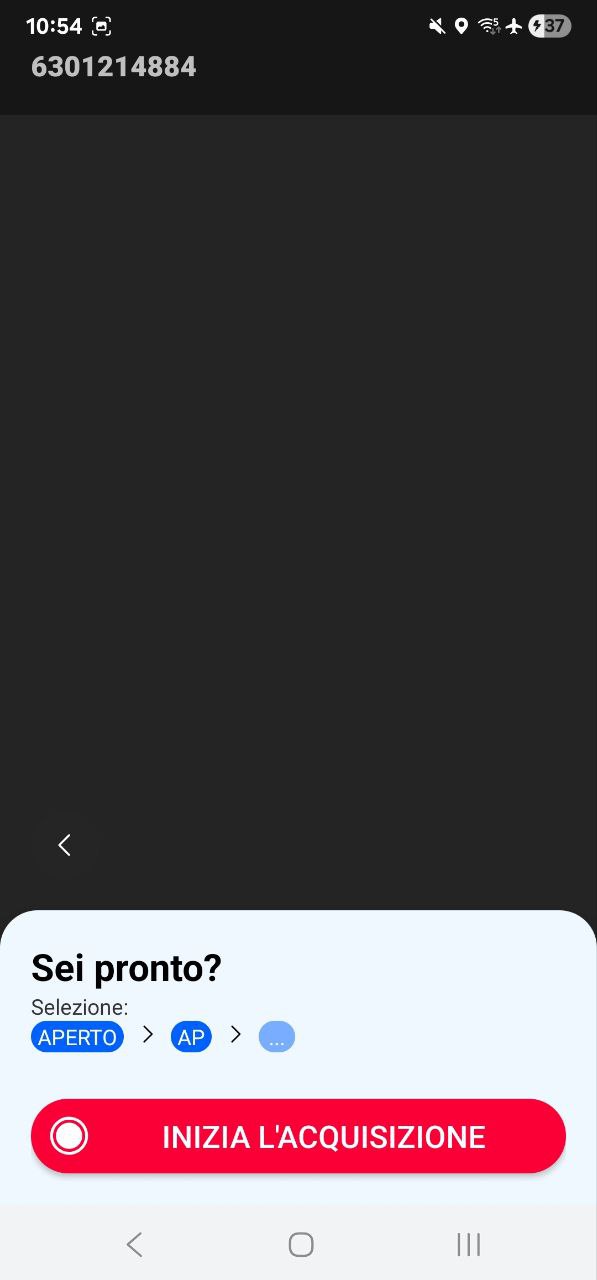
Open trench, hard rock 3D survey
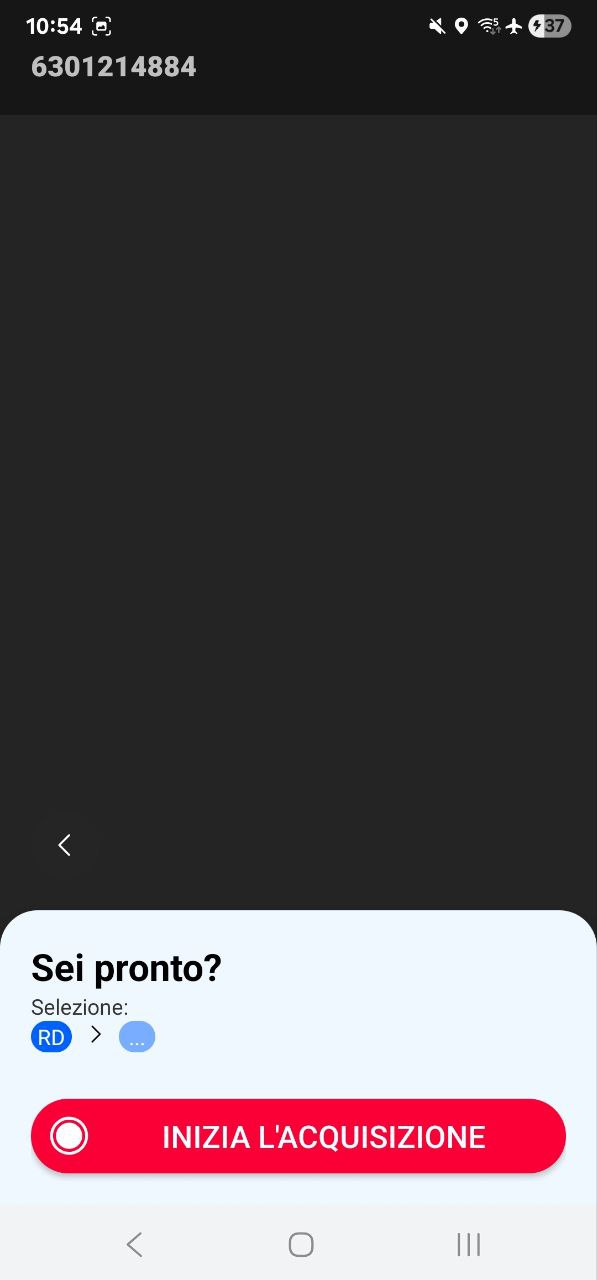
Open trench, unpaved ground or open country 3D survey
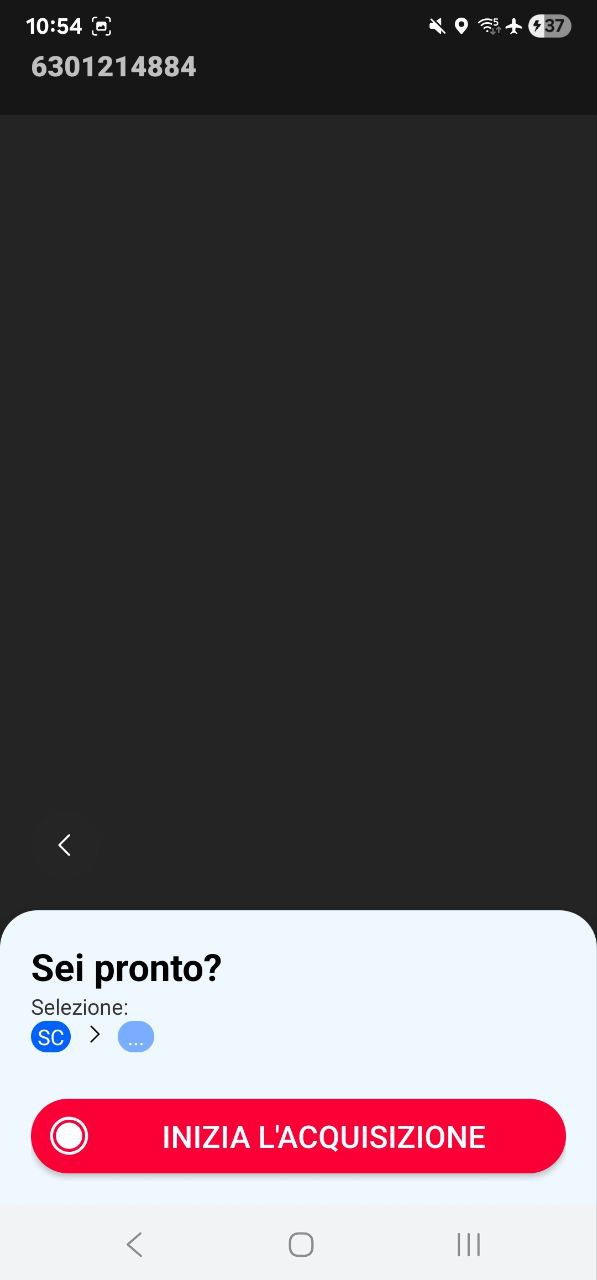
Trench with piping 3D survey
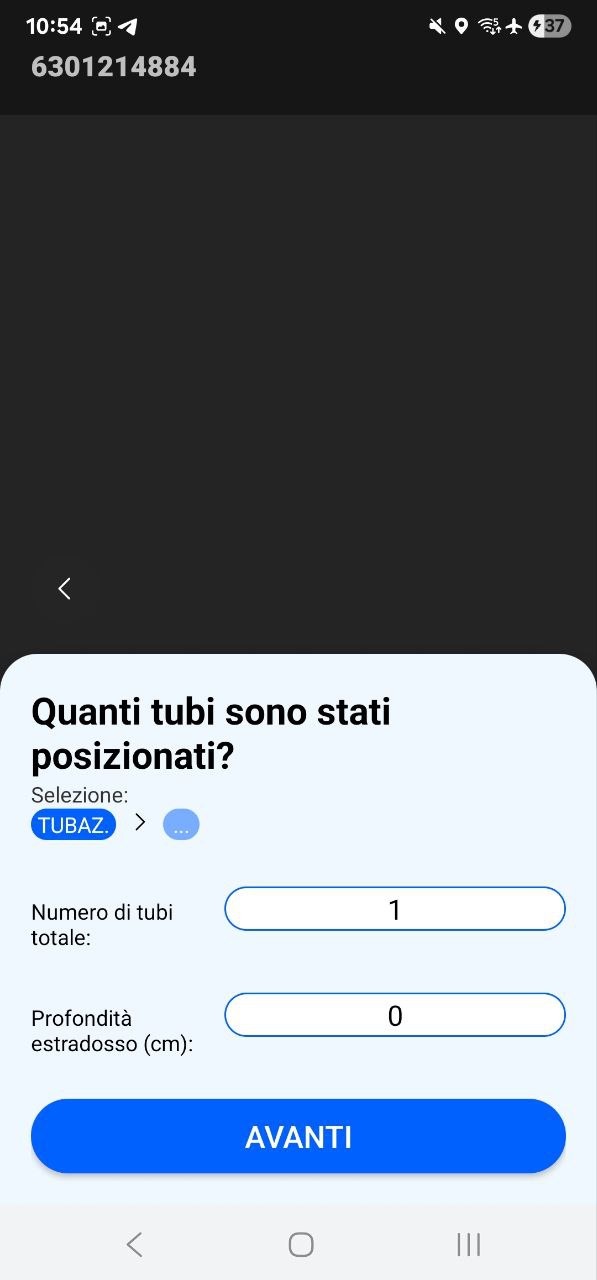
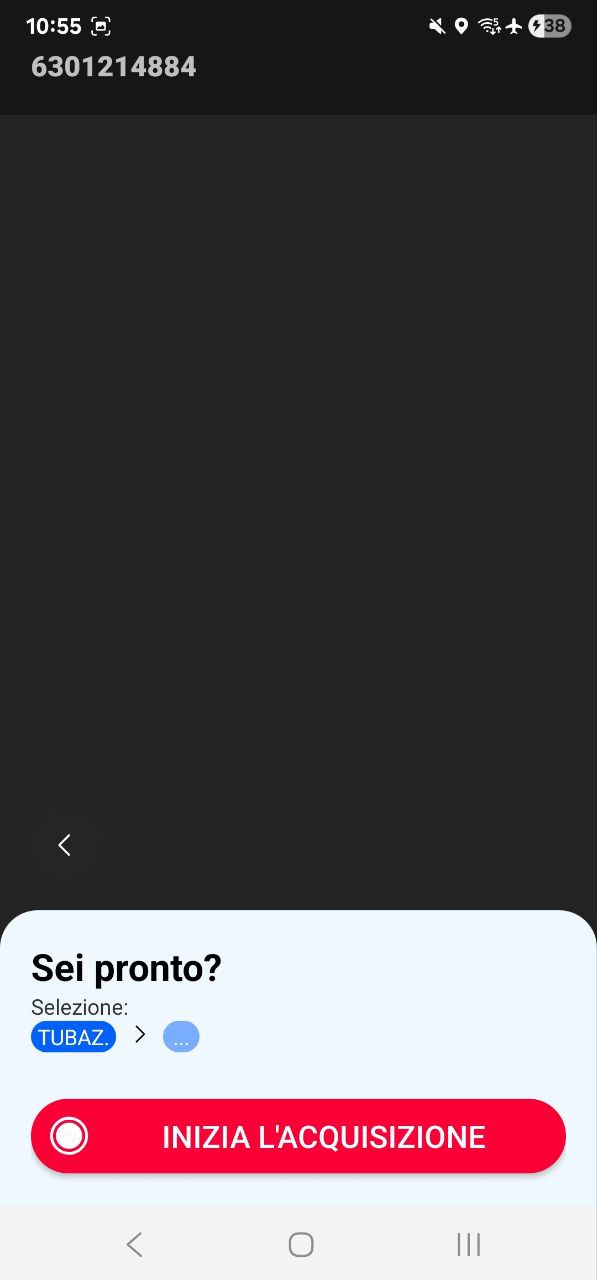
Asphalt milling 3D survey
Restored trench: traditional, porous asphalt or other 3D survey
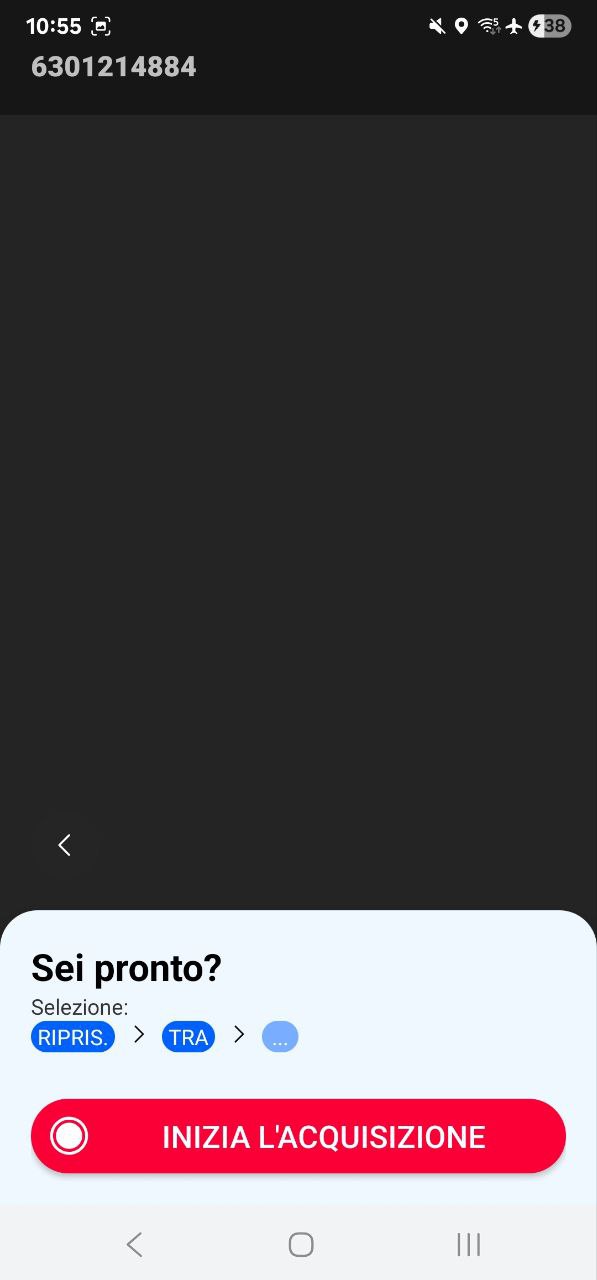
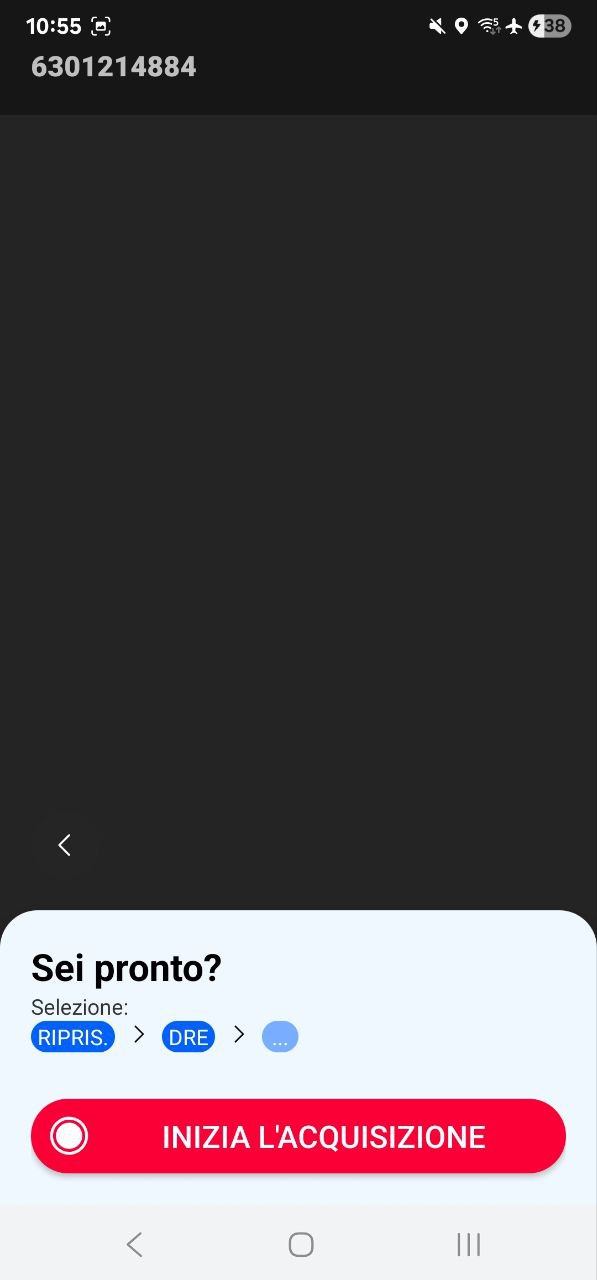
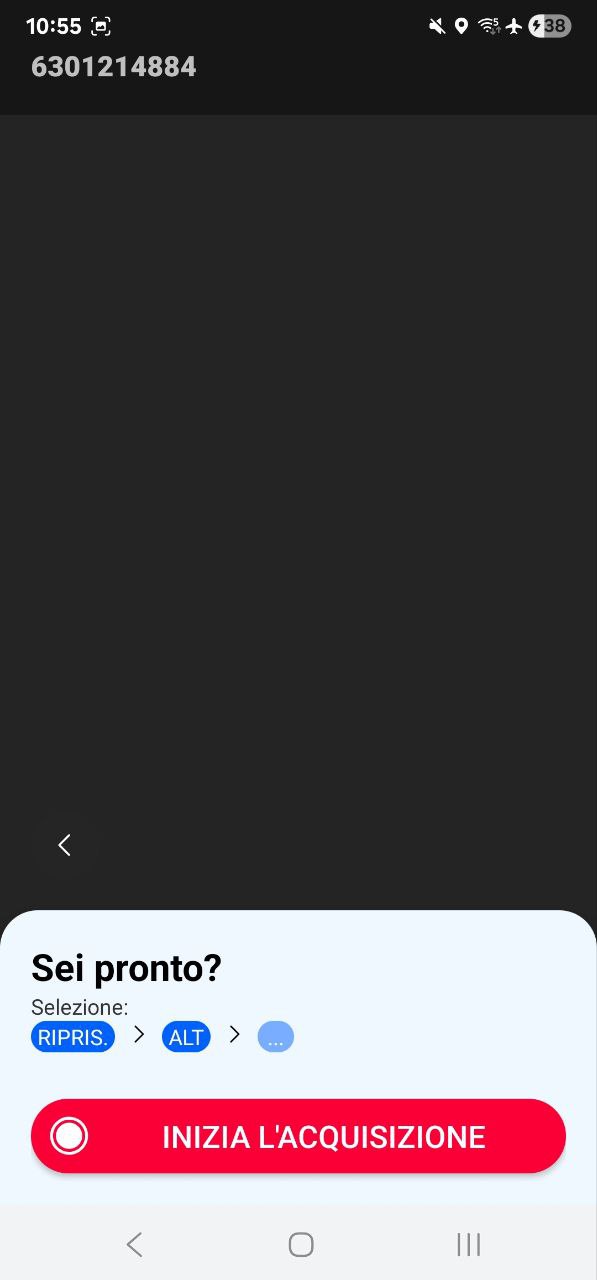
4.2 Horizontal directional drilling Photographic survey
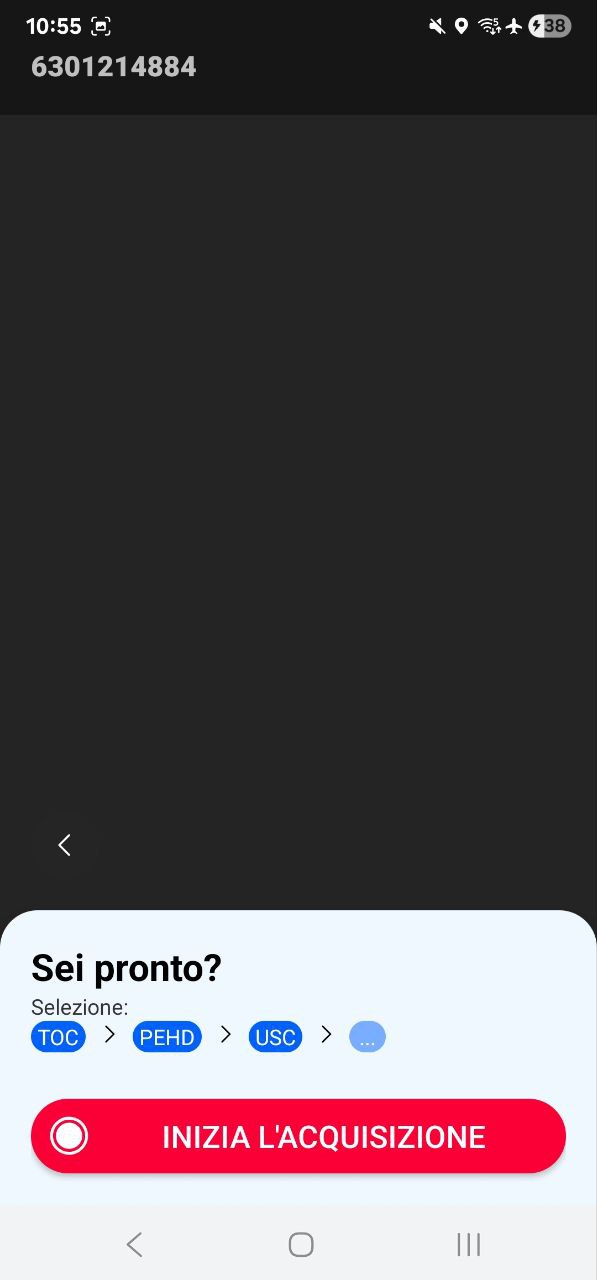
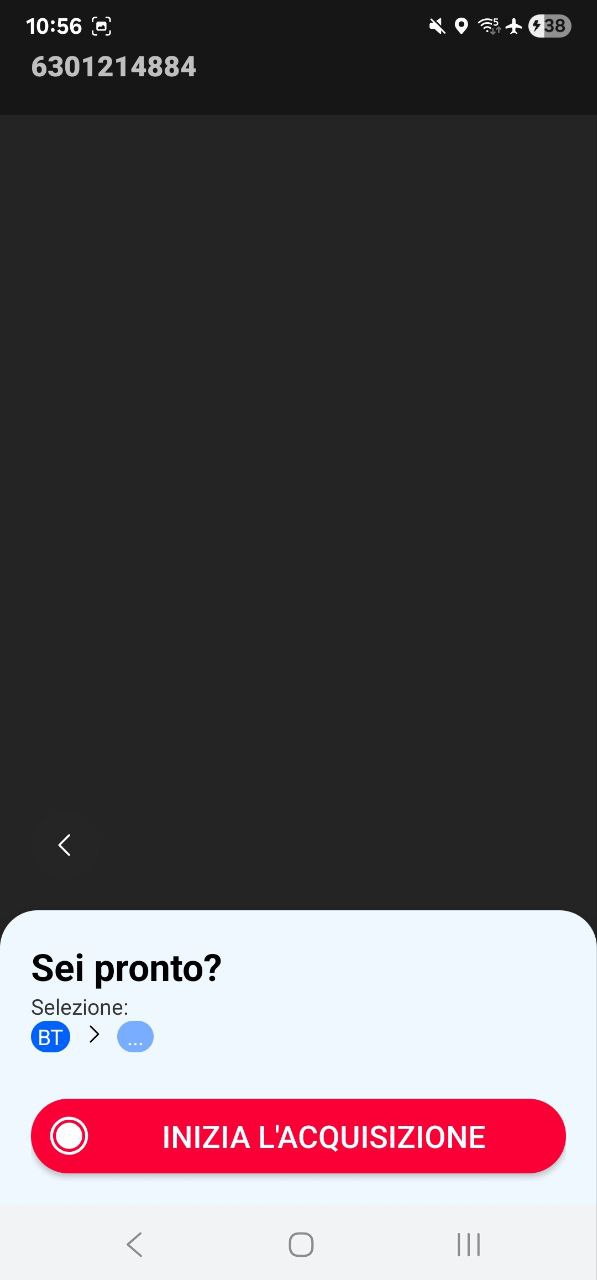
Select Horizontal directional drilling (HDD), then specify the conduit or pipe type, followed by the location, meaning the entry point or the exit point of the pipe. Whichever pipe type you select, you must specify entry or exit before recording starts.
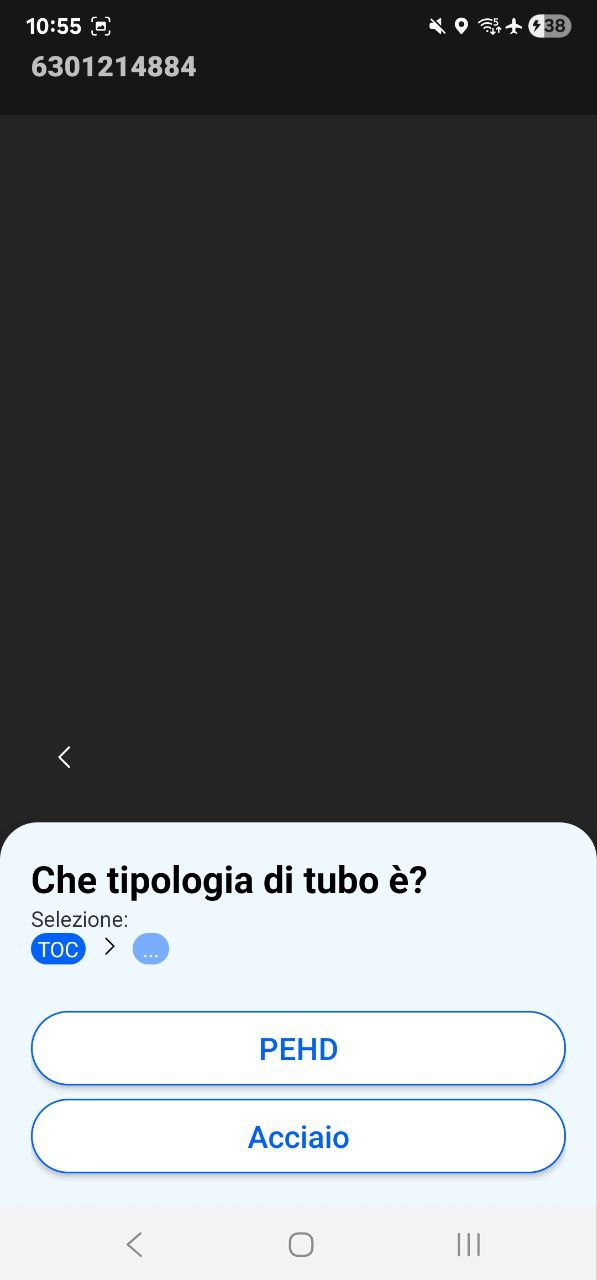
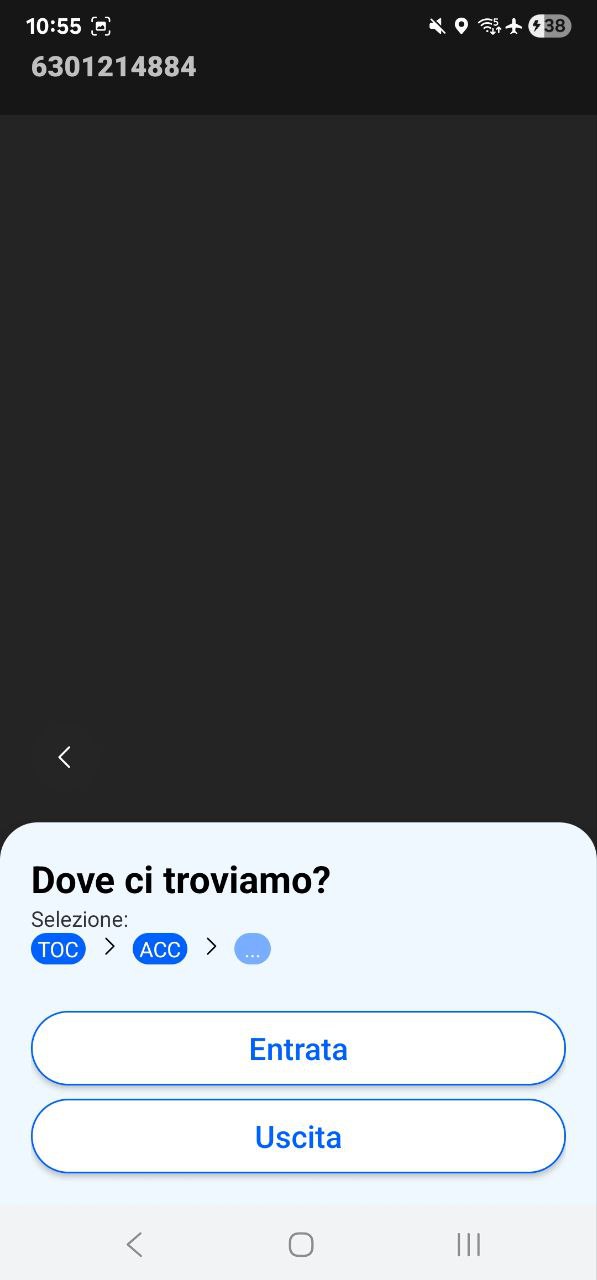
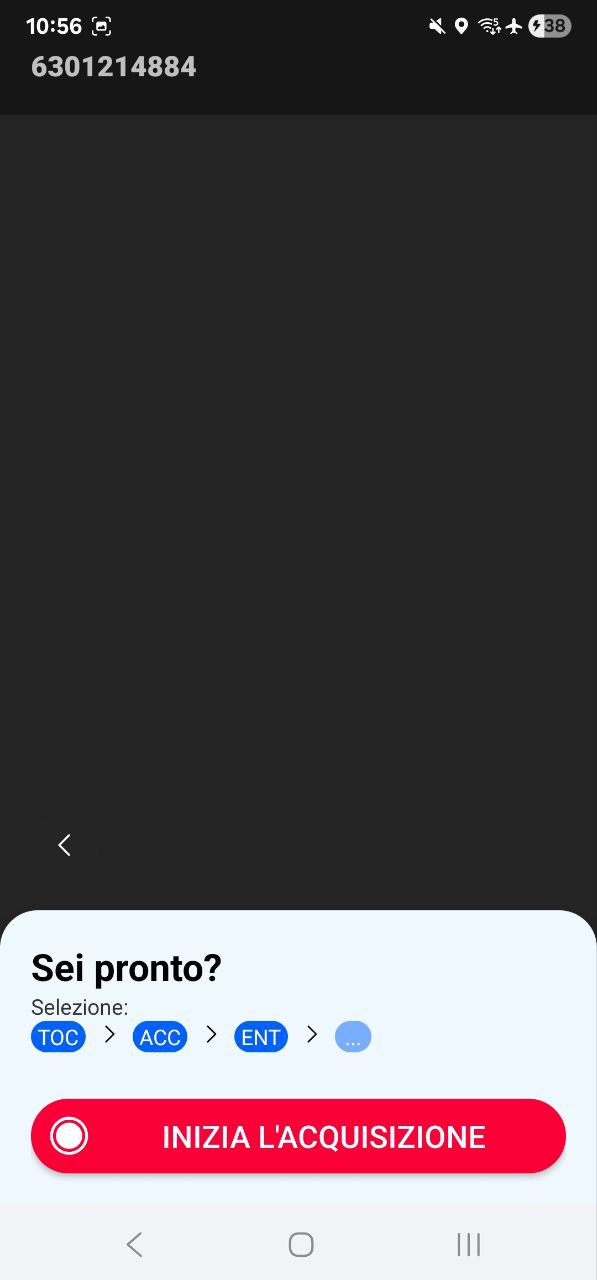
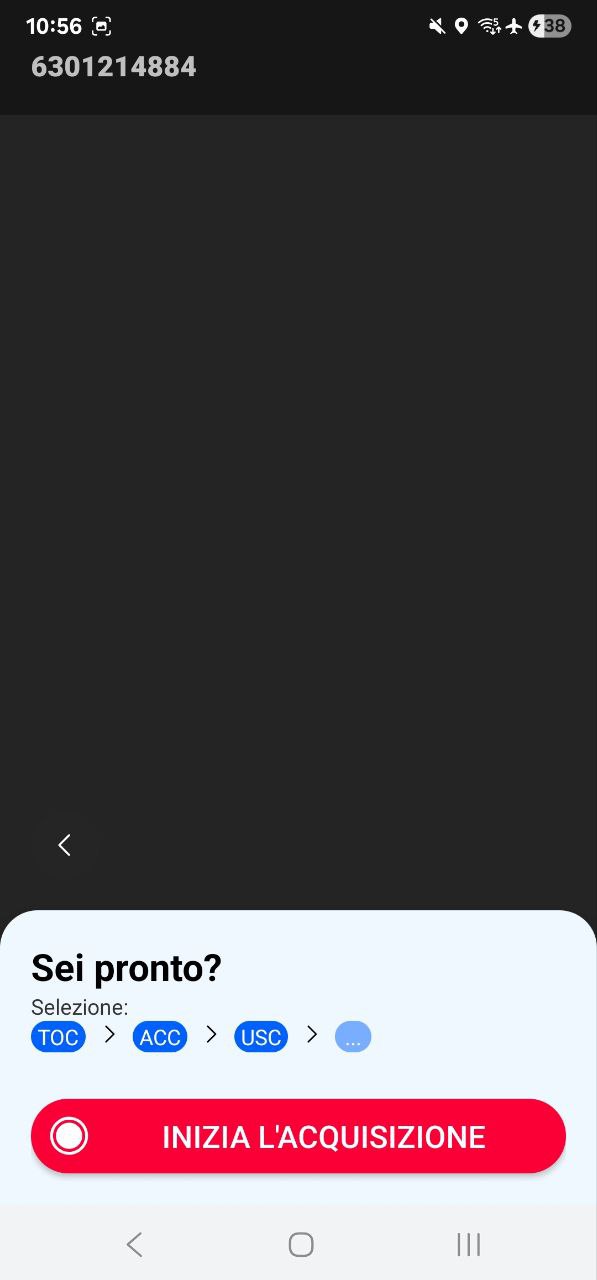
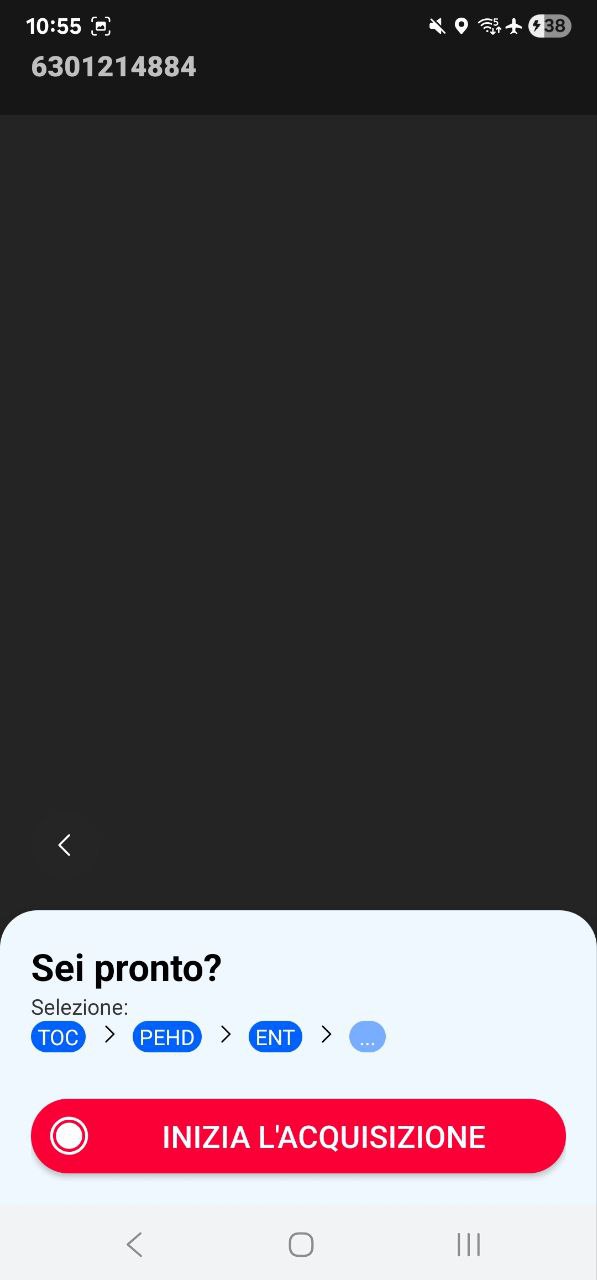
4.3 Joint pit
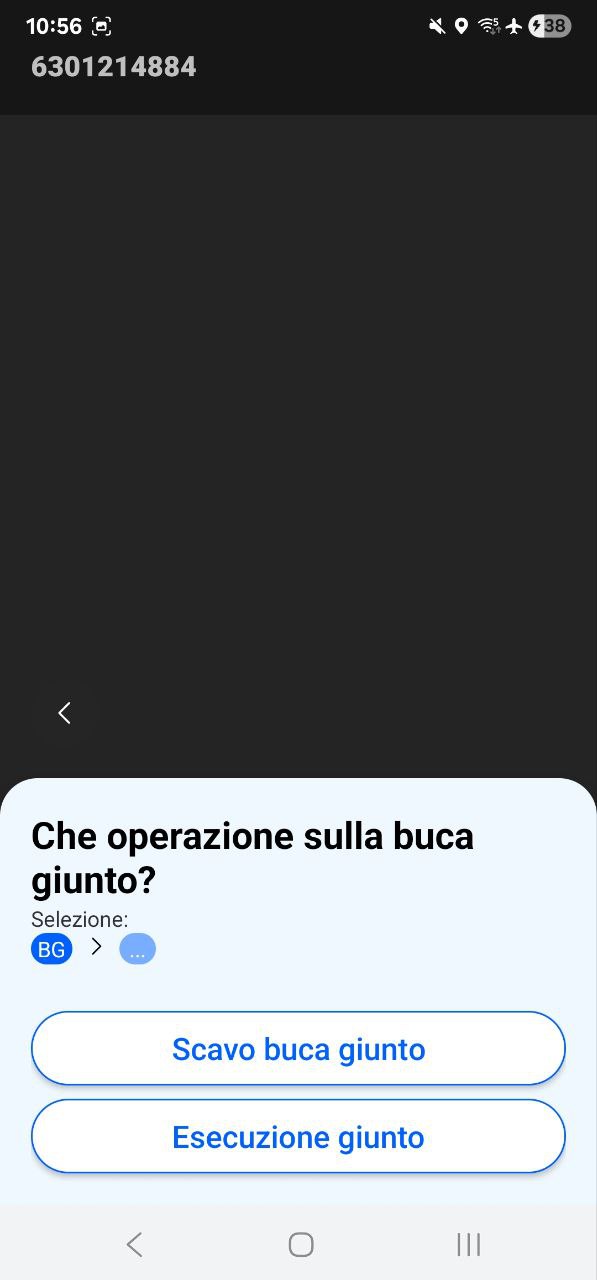
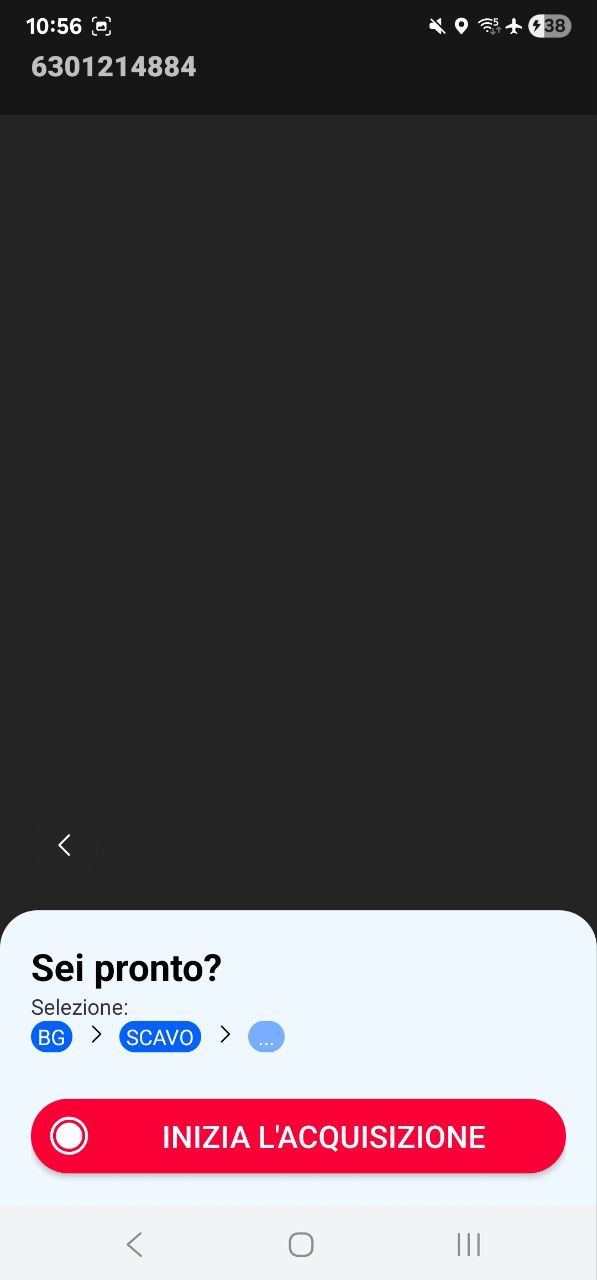
Select Joint pit, then select the operation you want to record. Depending on the operation you choose, the app asks for further details before recording starts.
Joint pit excavation 3D survey
Joint installation: MV trefoil or triplex, or LV line Photographic survey
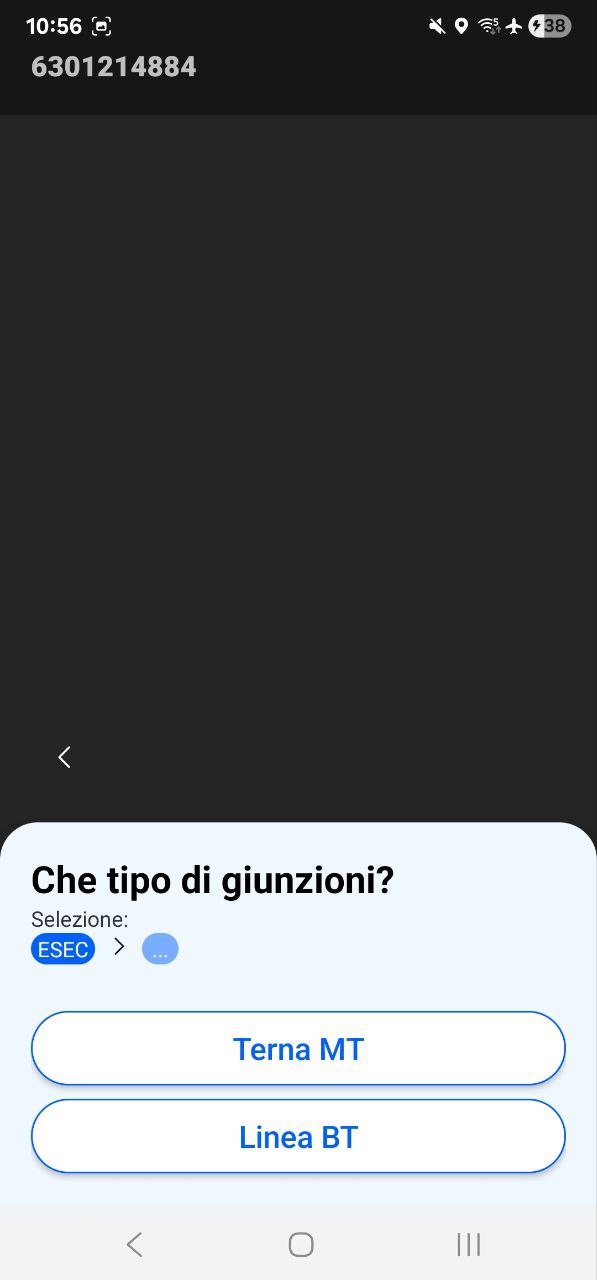
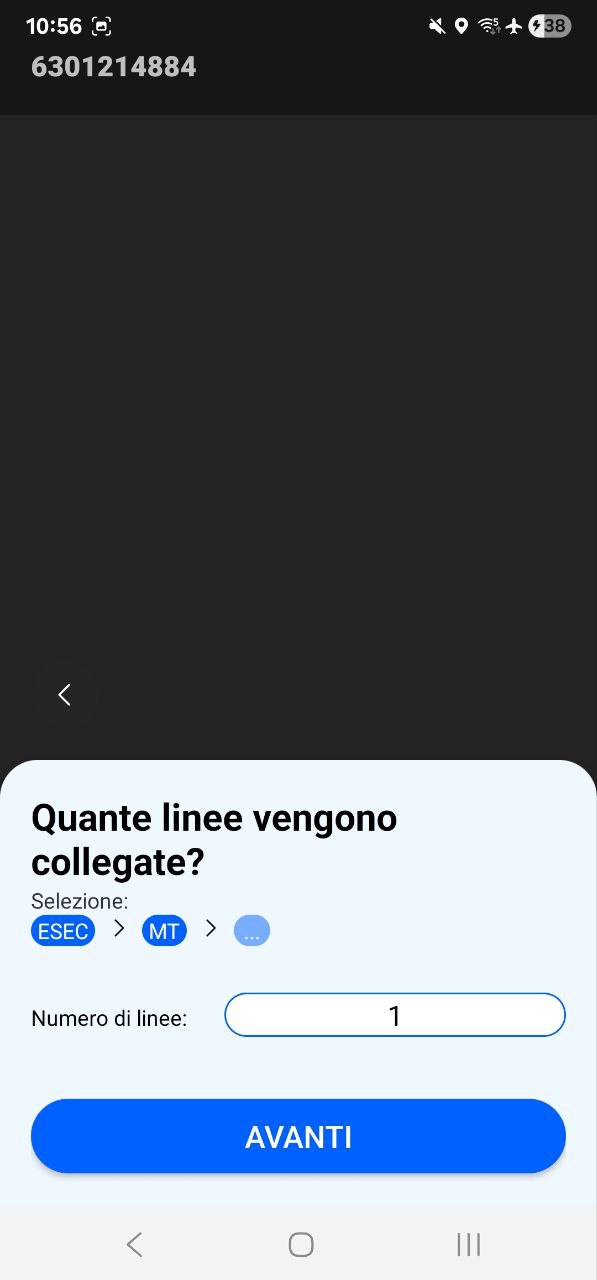
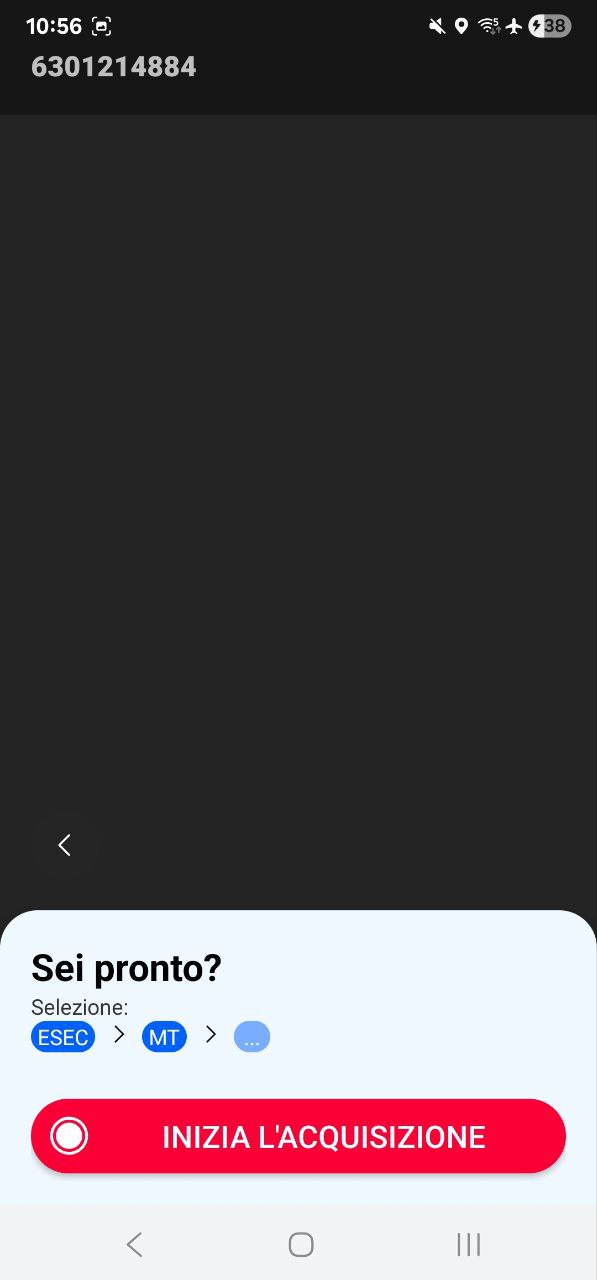
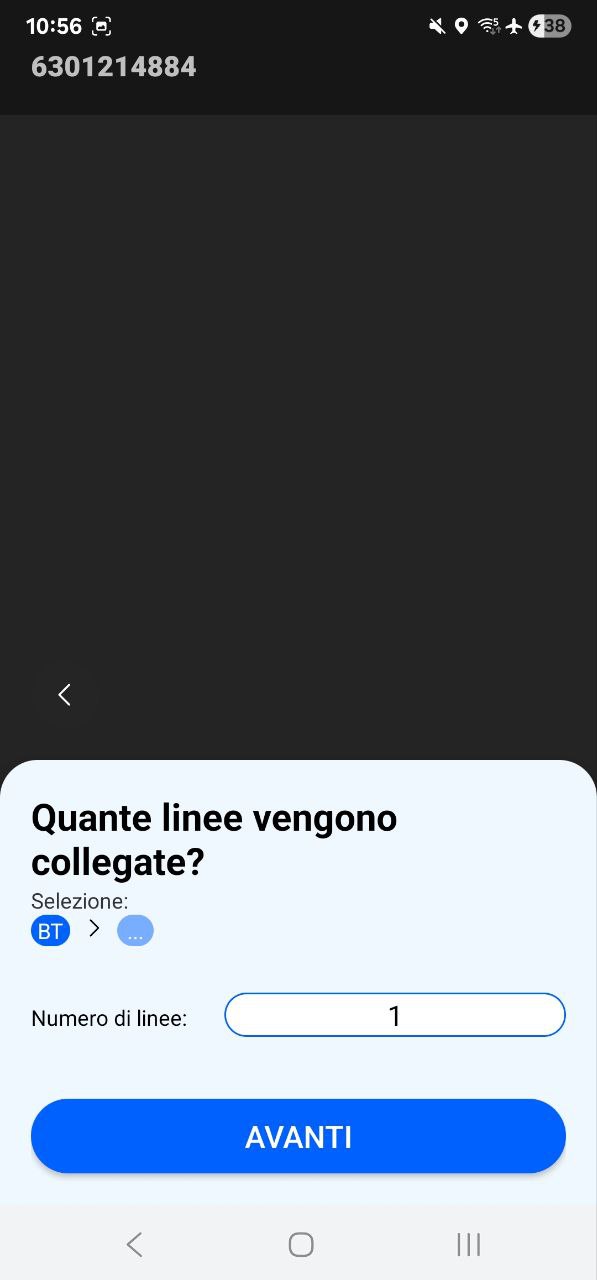
4.4 Manhole or pit 3D survey
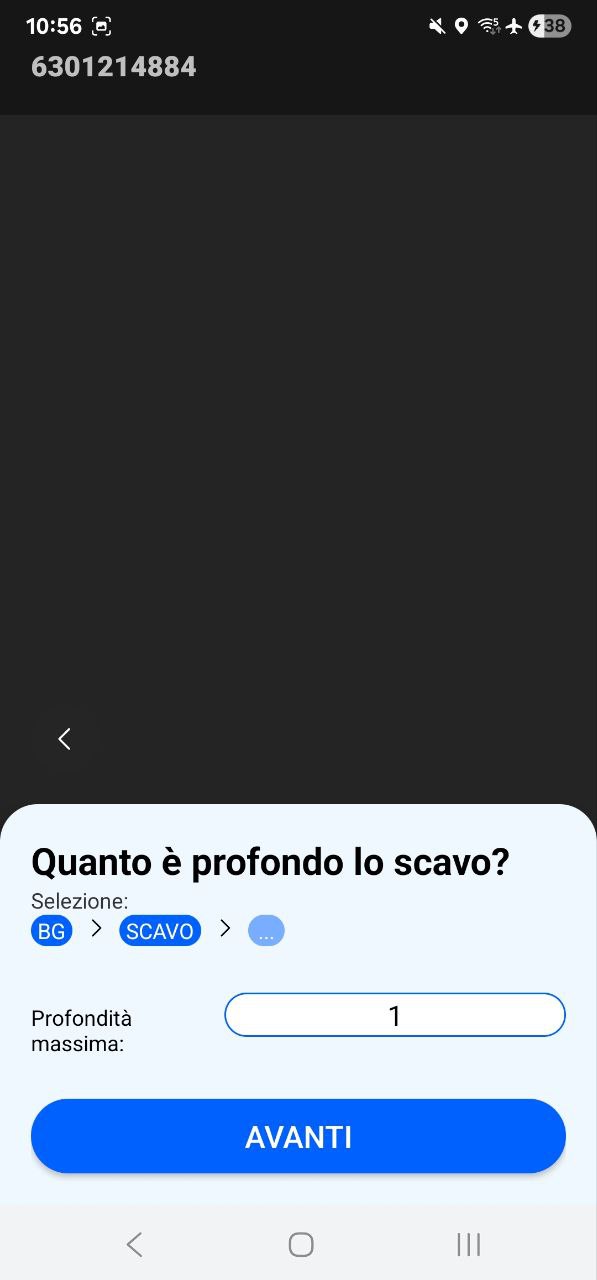
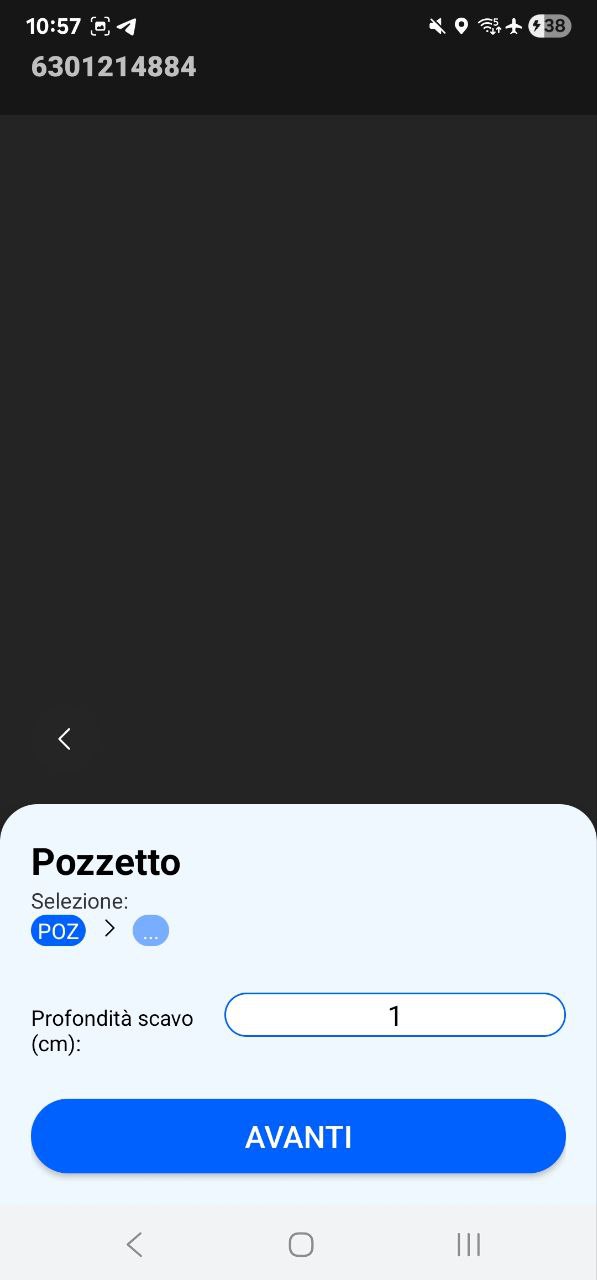
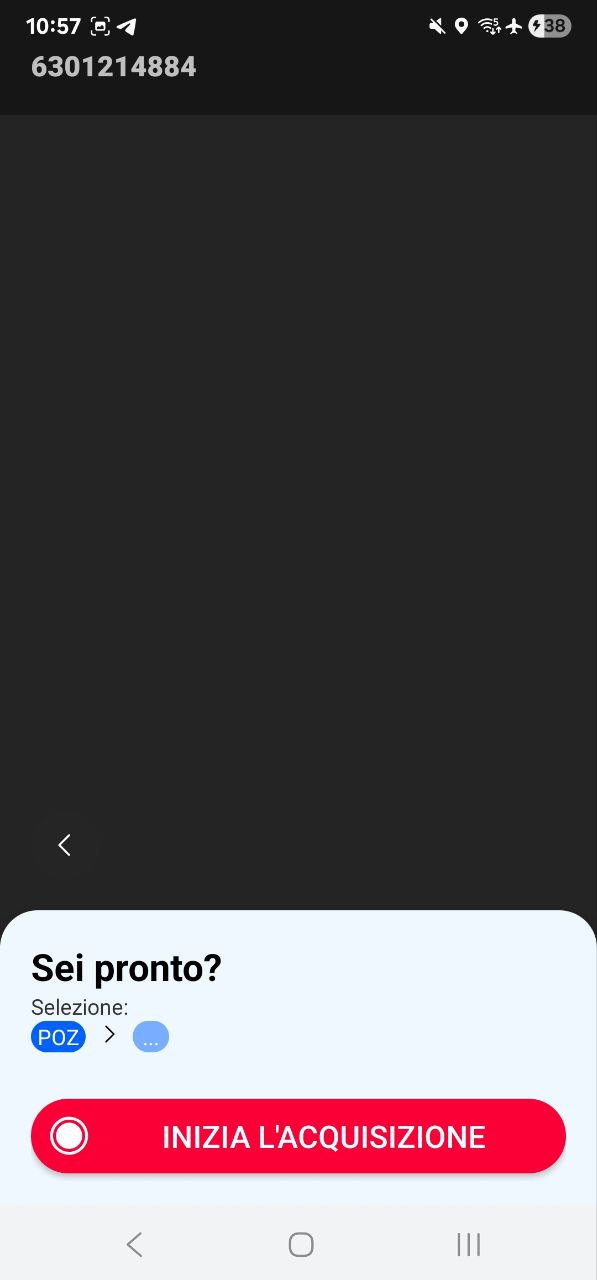
Select Manhole / Pit, then enter the excavation depth.
Section 05
Starting a recording
-
Wait for the GPS signal
Allow a few seconds for the GPS indicator to turn green or white.
 Red
Do not record
Red
Do not record
 Yellow
Do not record
Yellow
Do not record
 Green
Ready to record
Green
Ready to record
 White
Ready to record
While you wait
White
Ready to record
While you waitWalk alongside the trench with the camera pointed at the surrounding structures, buildings and roads, and move the phone in a figure-of-eight pattern.
GPS indicator on screen. Figure-of-eight movement. -
Start recording
Hold the phone in landscape orientation and start the recording.
Starting a recording. -
Check that recording is active
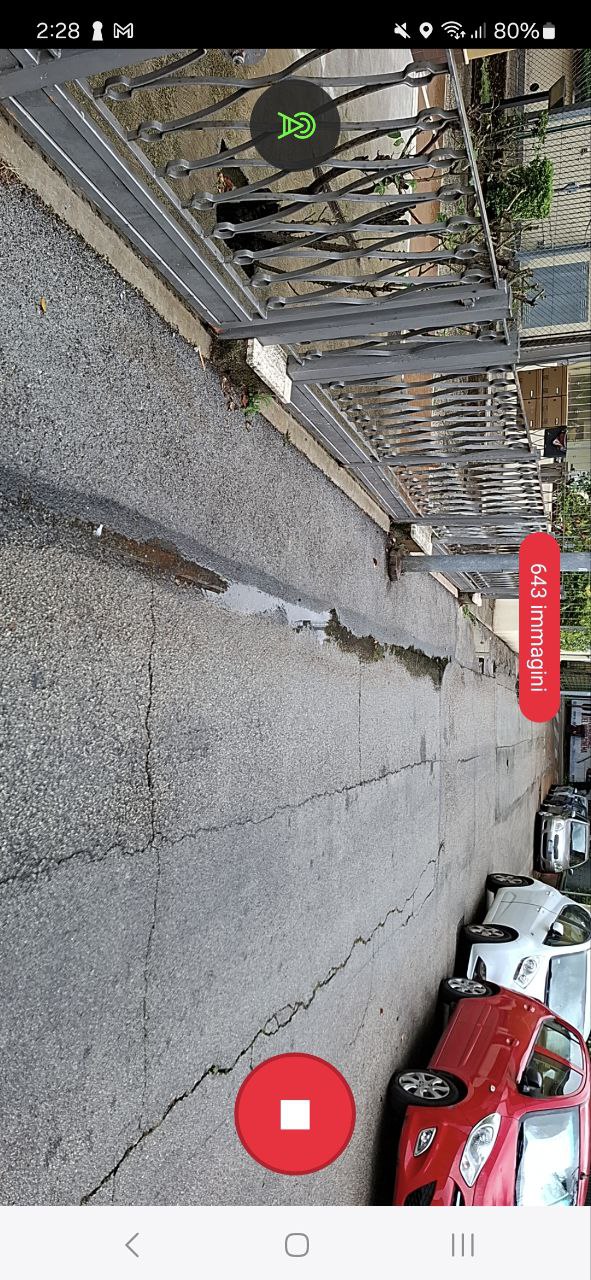
The total number of images captured is shown at the top of the screen. If the counter is rising, the recording is active.
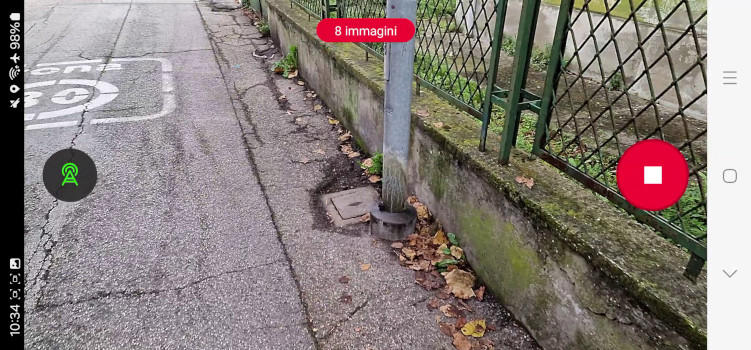
Image counter.
Section 06
Quality control
When a recording ends, the app runs quality checks on it and asks you to review the point cloud that was produced.
Pinch with two fingers to zoom and drag to pan. Check that the point cloud covers the entire area of interest.
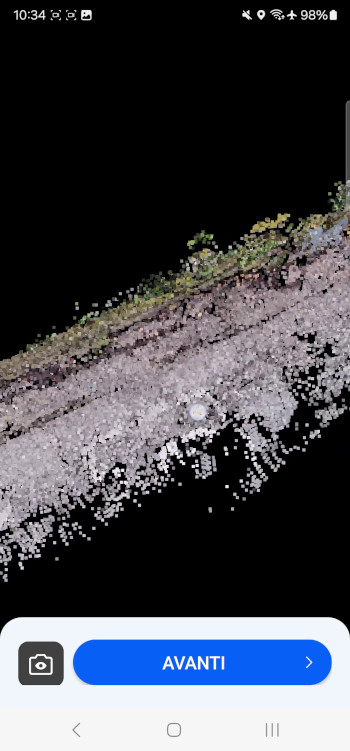
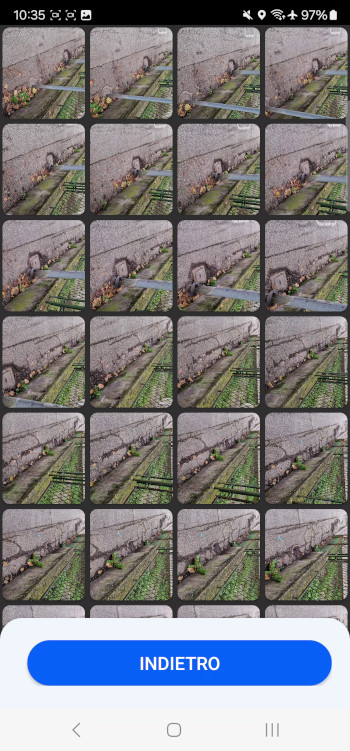
Check the images for the following
- The lighting is adequate
- No image points straight down at the ground
- Nothing was blocking the lens
Tap Back to return to the point cloud view, then tap Next to see the automatic Quality Check results produced by the app.
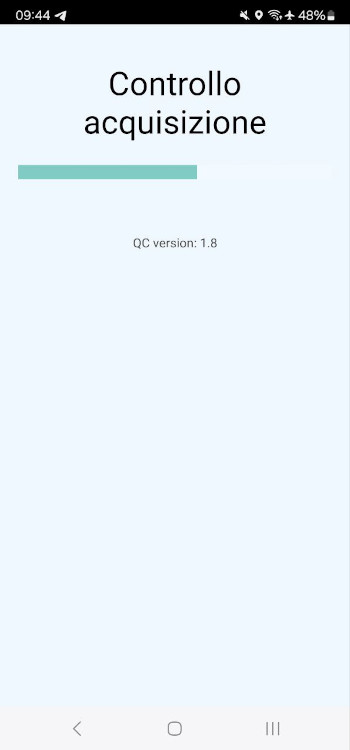
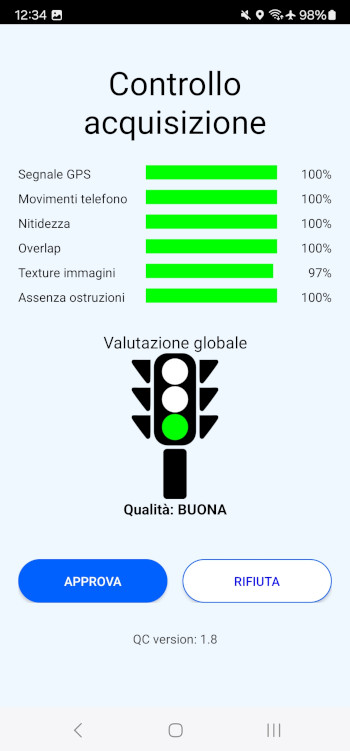
Approve the Quality Check to save the session and return to the main view. Reject it to discard the recording and repeat it.
Section 07
Uploading to the server
Automatic upload
The app checks for new recordings to send to the server in three daily time windows:
- 06:00 to 08:00
- 12:00 to 14:00
- 17:00 to 19:00
If recordings are waiting, and the device has network coverage and enough battery, the app uploads them automatically.
Manual upload
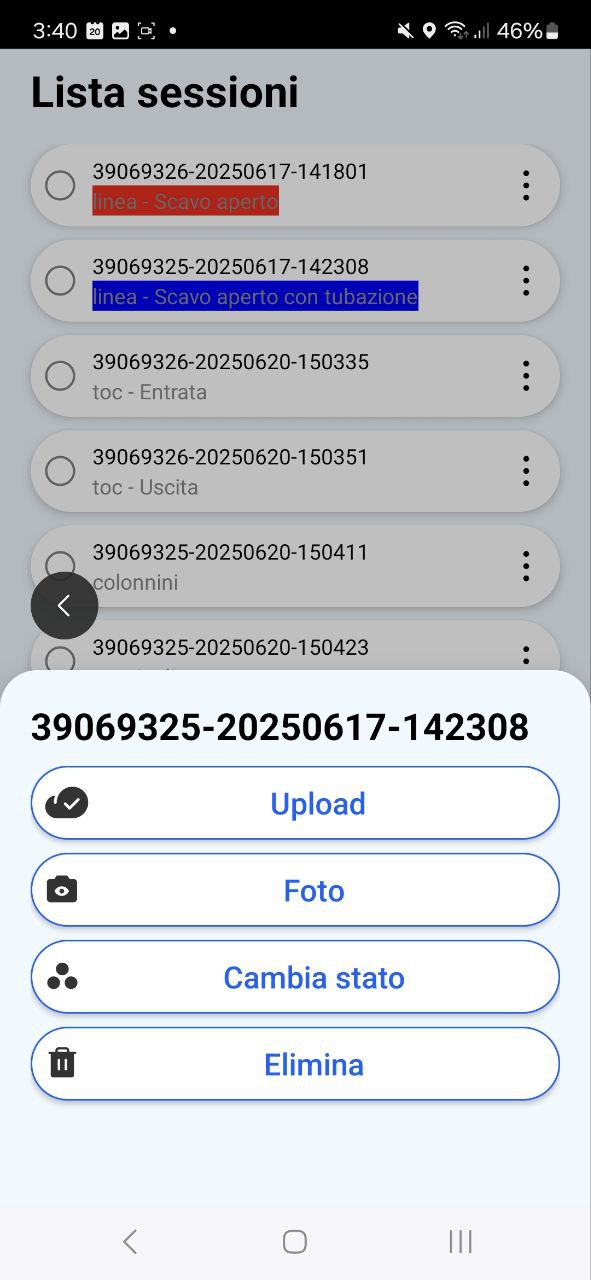
From the main view, tap the saved icon to list the recordings held on the device for the selected project, then tap the three dots next to a session name to open the context menu.
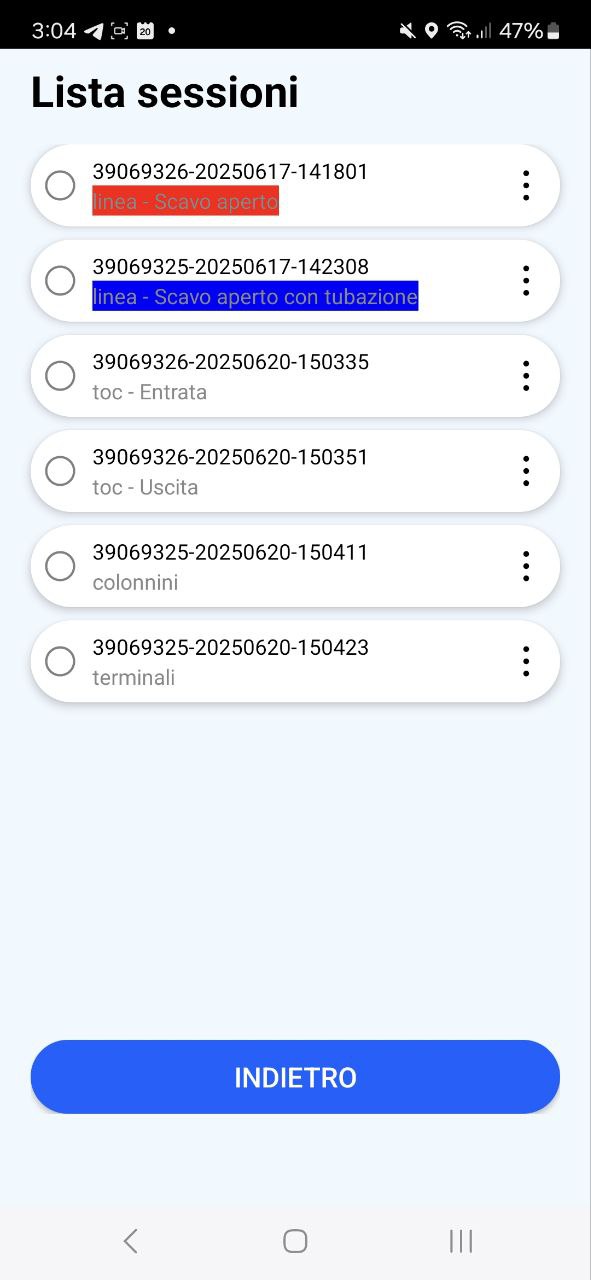
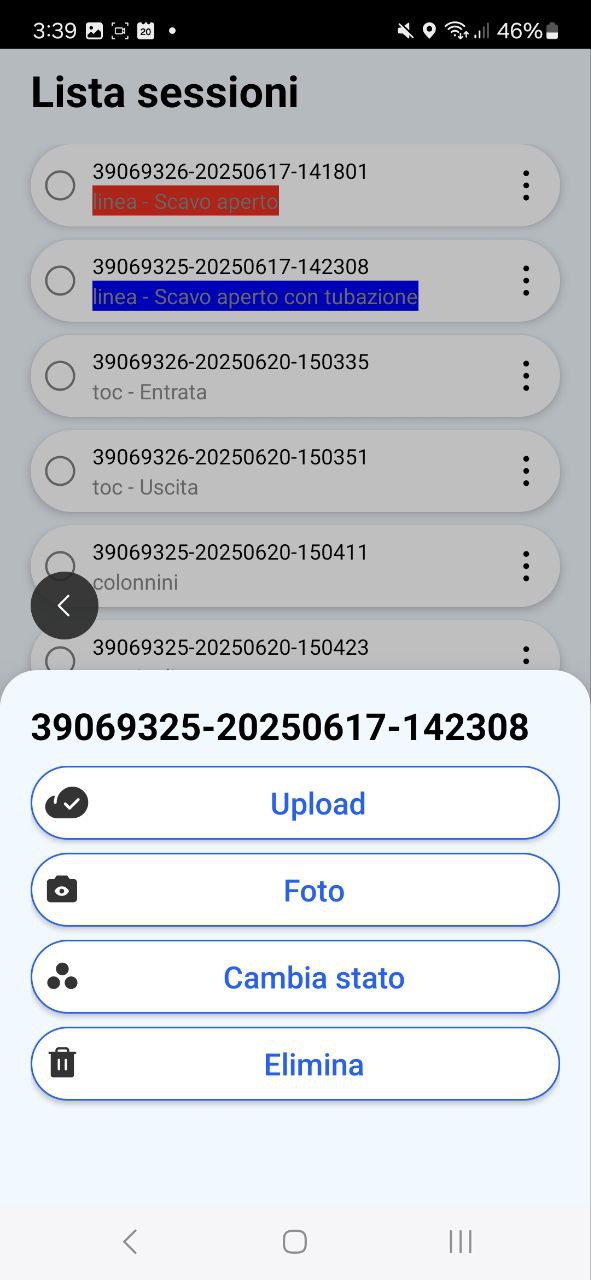
Upload
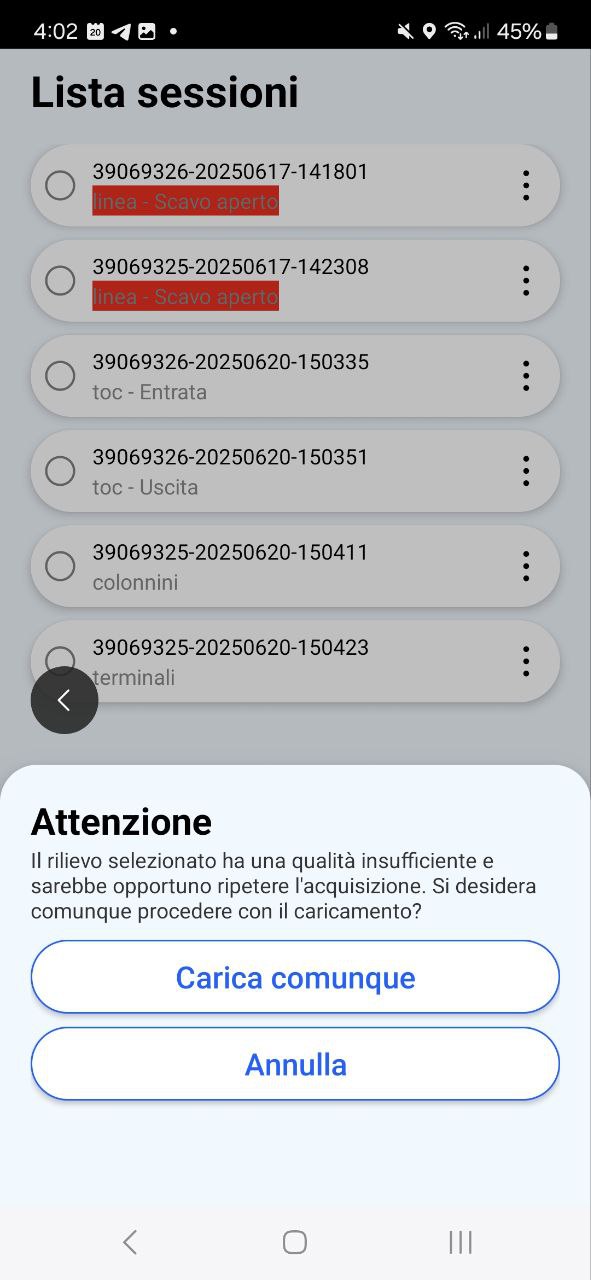
Tap Upload to send the survey data to the server. An icon on the session confirms that the upload succeeded. If you try to upload a survey that failed its Quality Check, the app asks you to confirm first.
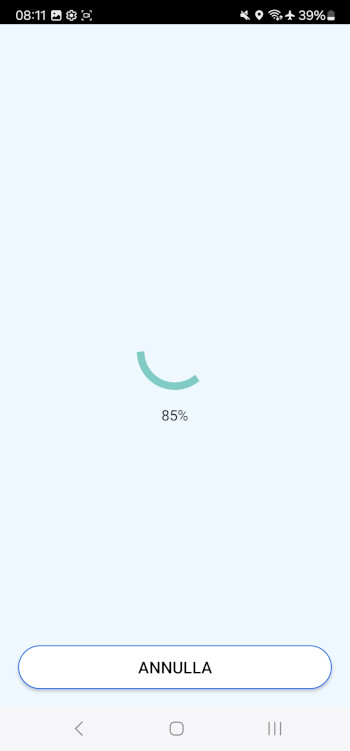
You can also start an upload from the project list, filtered by Projects with data to upload. See section 04.
Make sure the device has a stable Wi-Fi or mobile data connection before you upload.
Photos
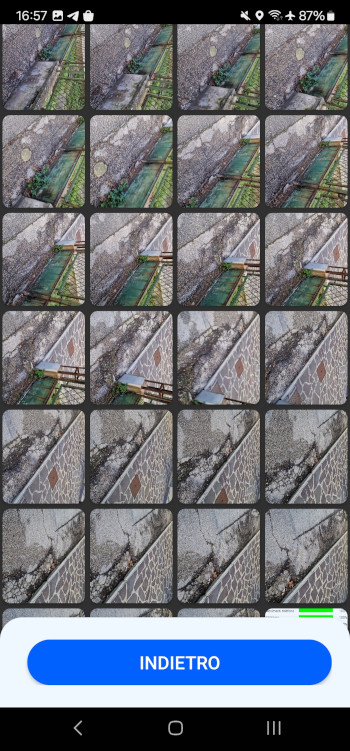
Tap Photos to open the image gallery for that session. The last image in the gallery is a screenshot of the Quality Check approved during recording, so you can review it at any time.
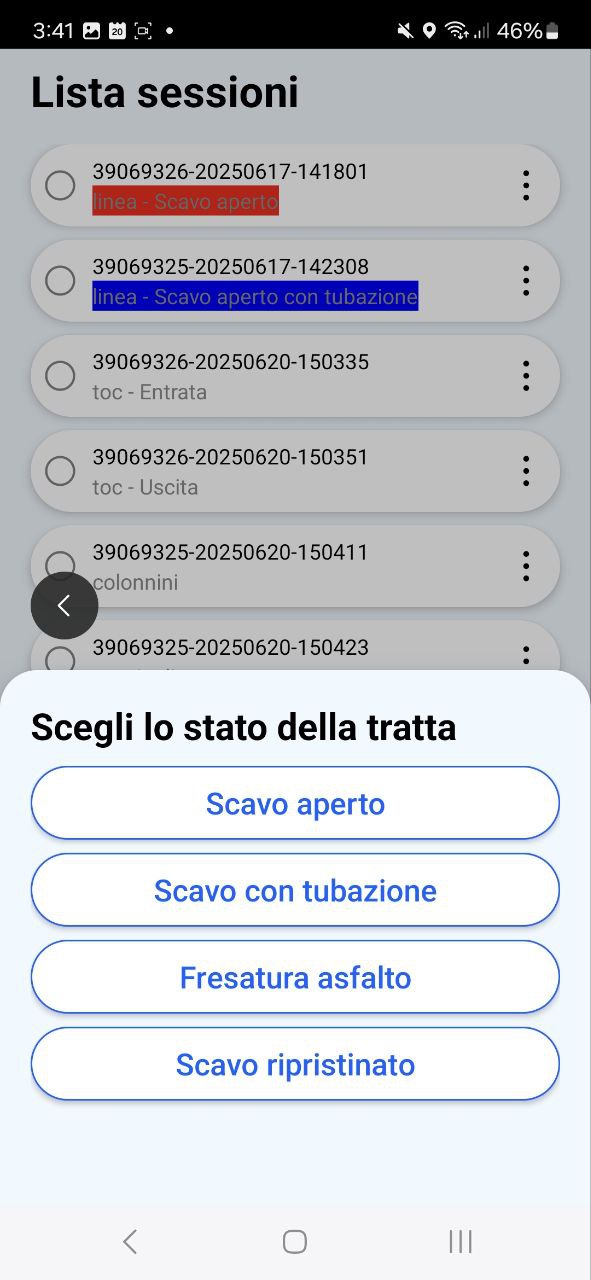
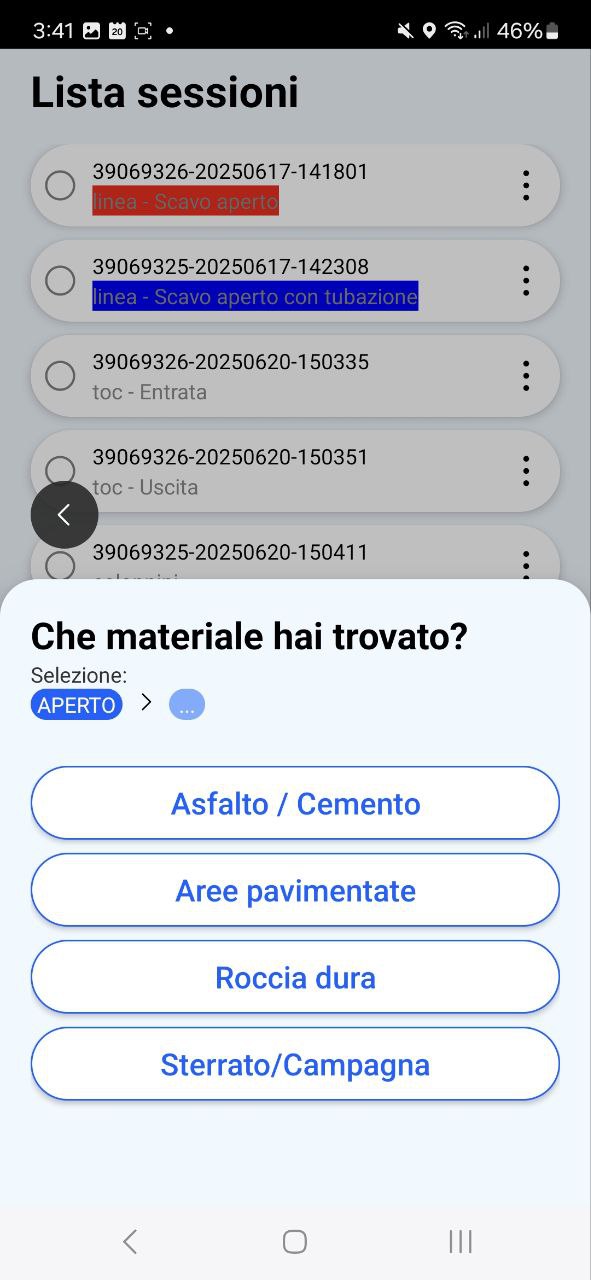
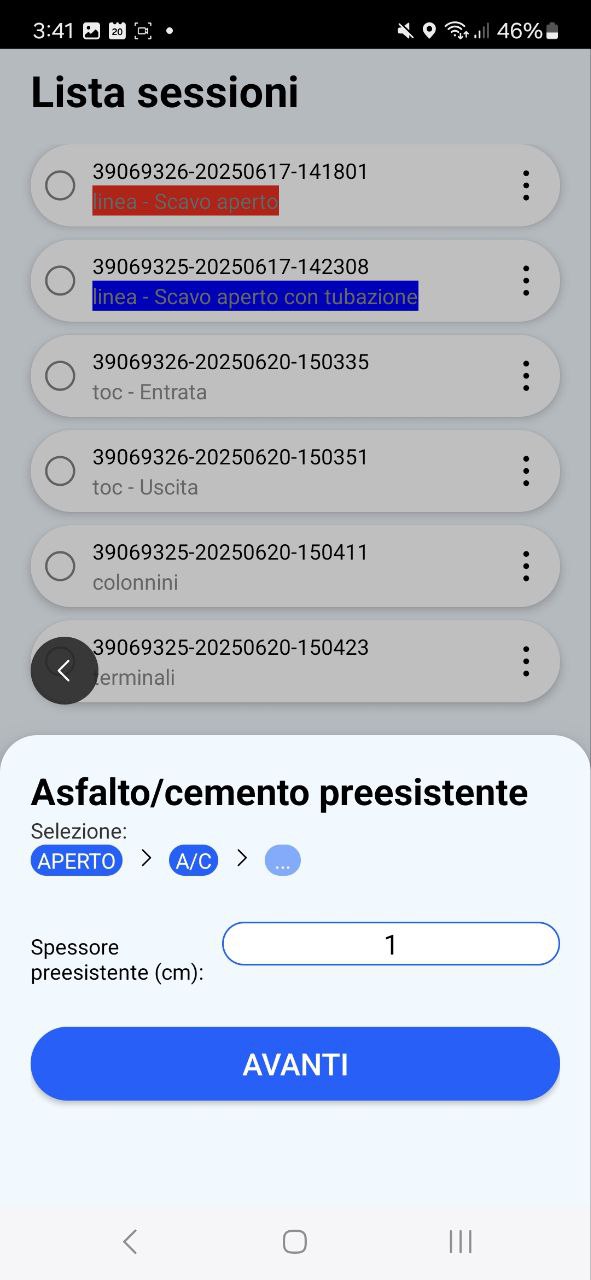
Changing the status of a survey
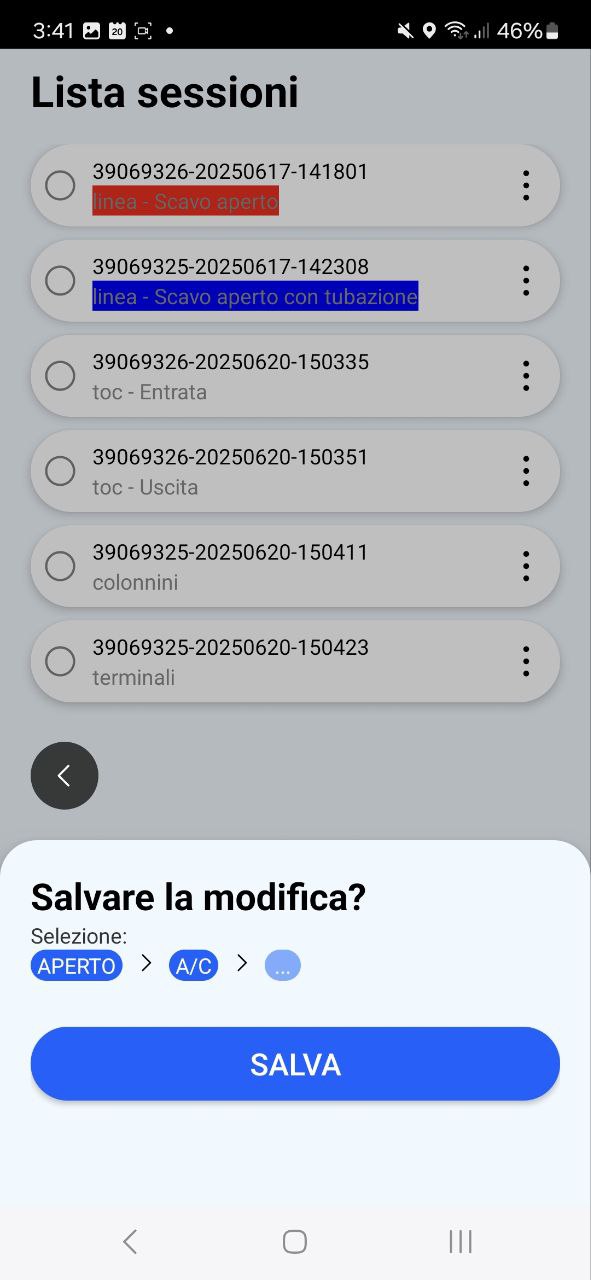
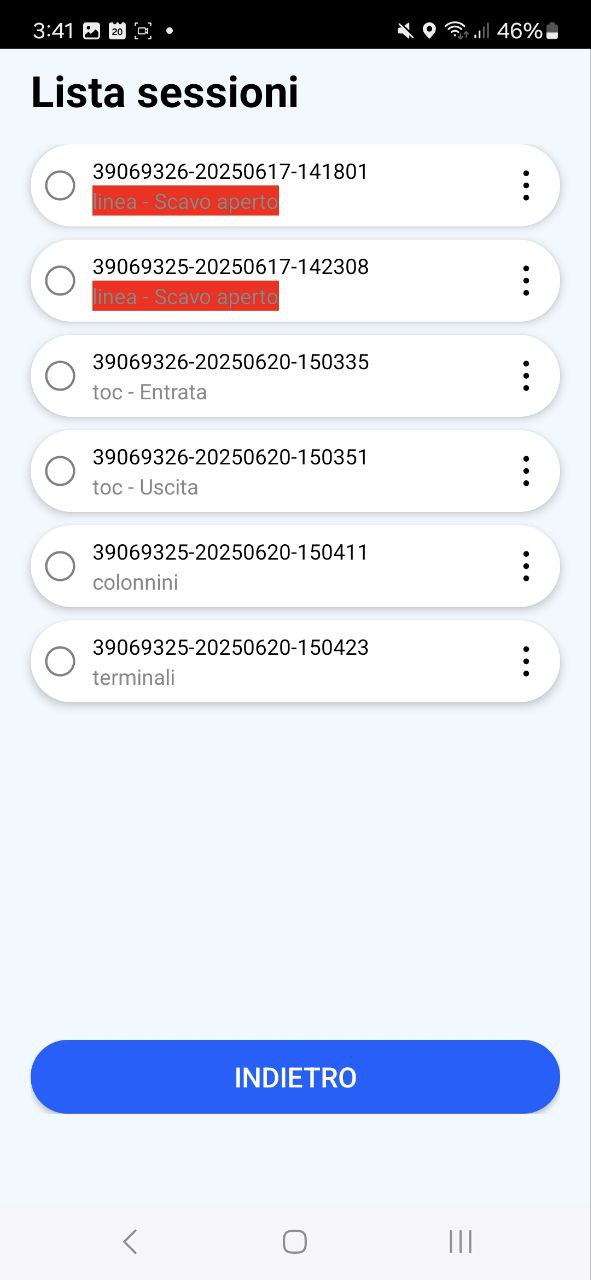
For line surveys, tap Change status to change the recorded status. The app then displays the fields and options that apply to the new status. The screens below show a line being changed from Open trench with piping to Open trench.